



























Whether in the workshop, on the construction site or at home: The Festool App is your companion for smart working and perfect results.
Scan the QR code and install the app.
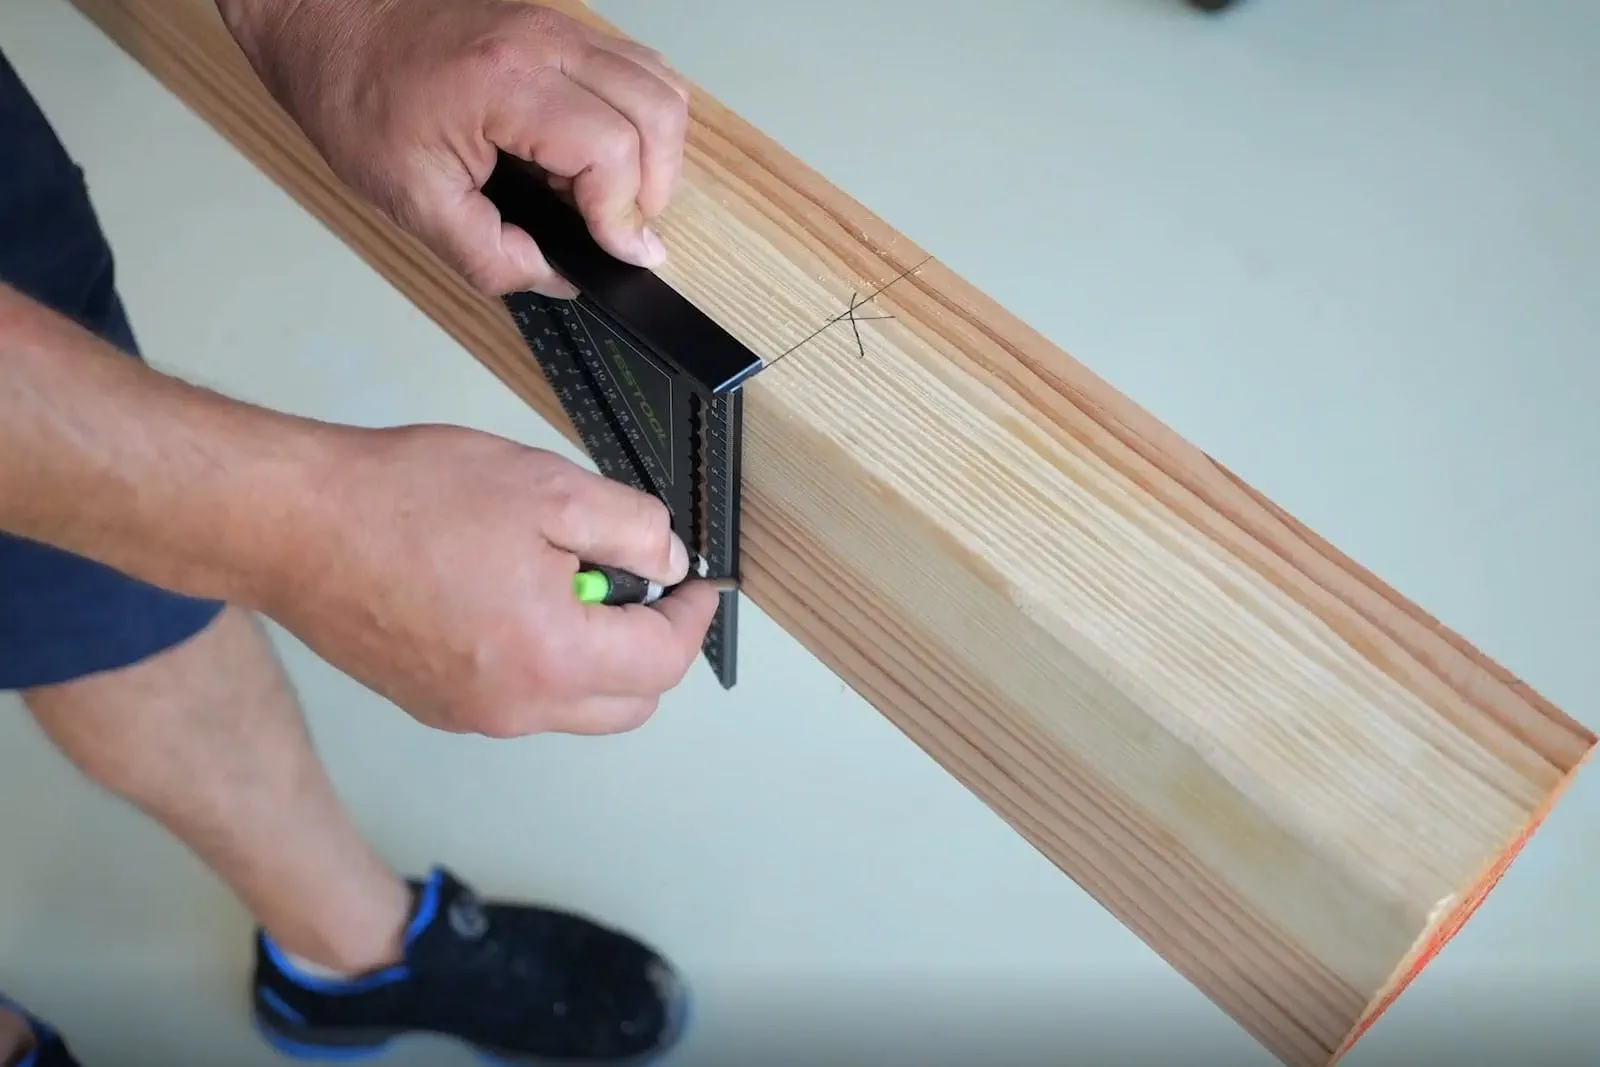
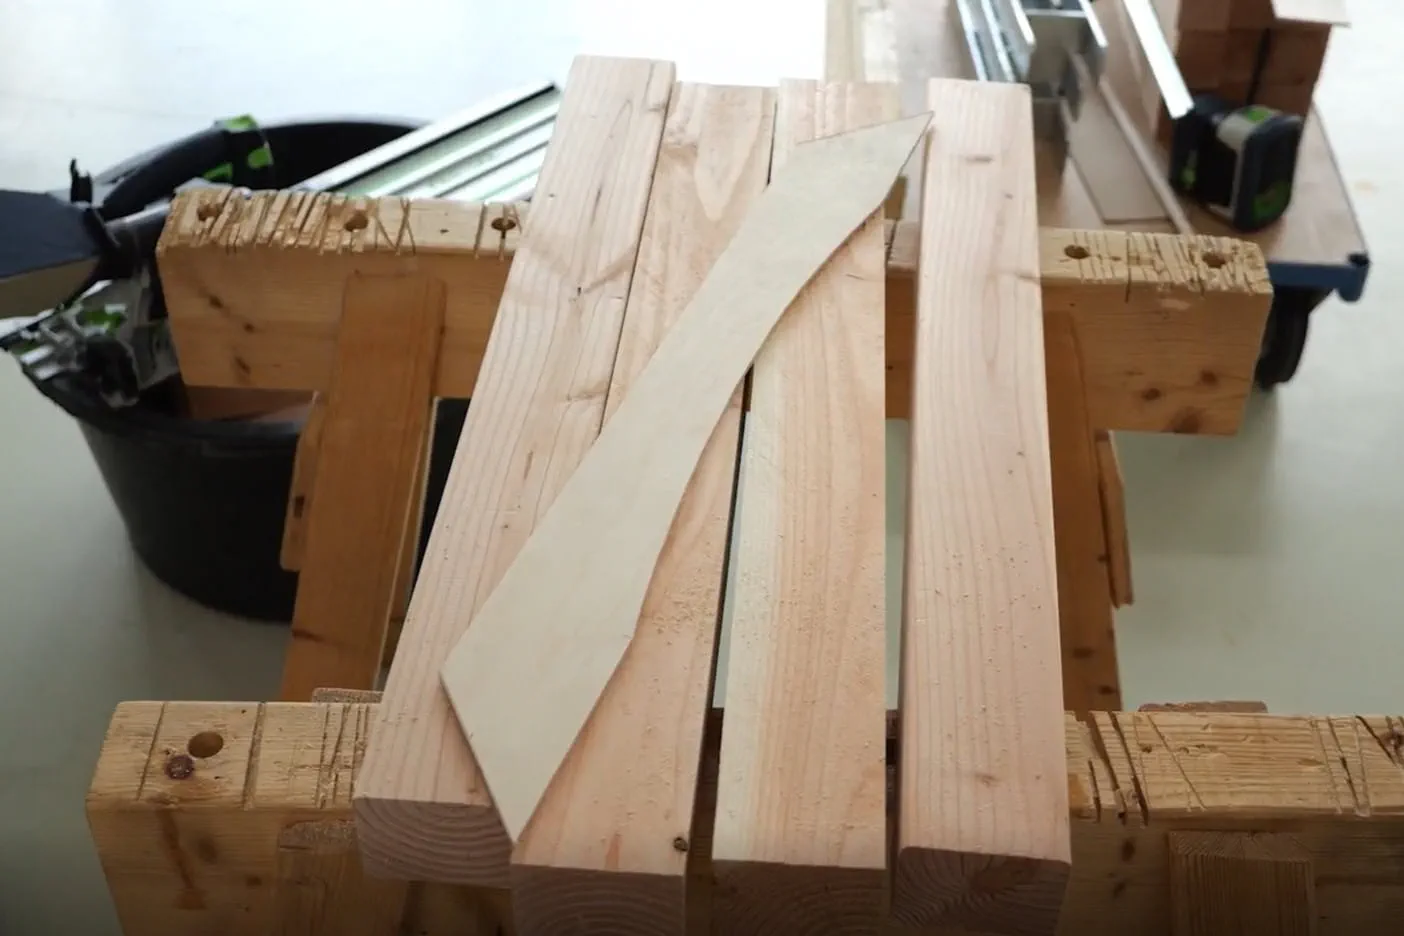
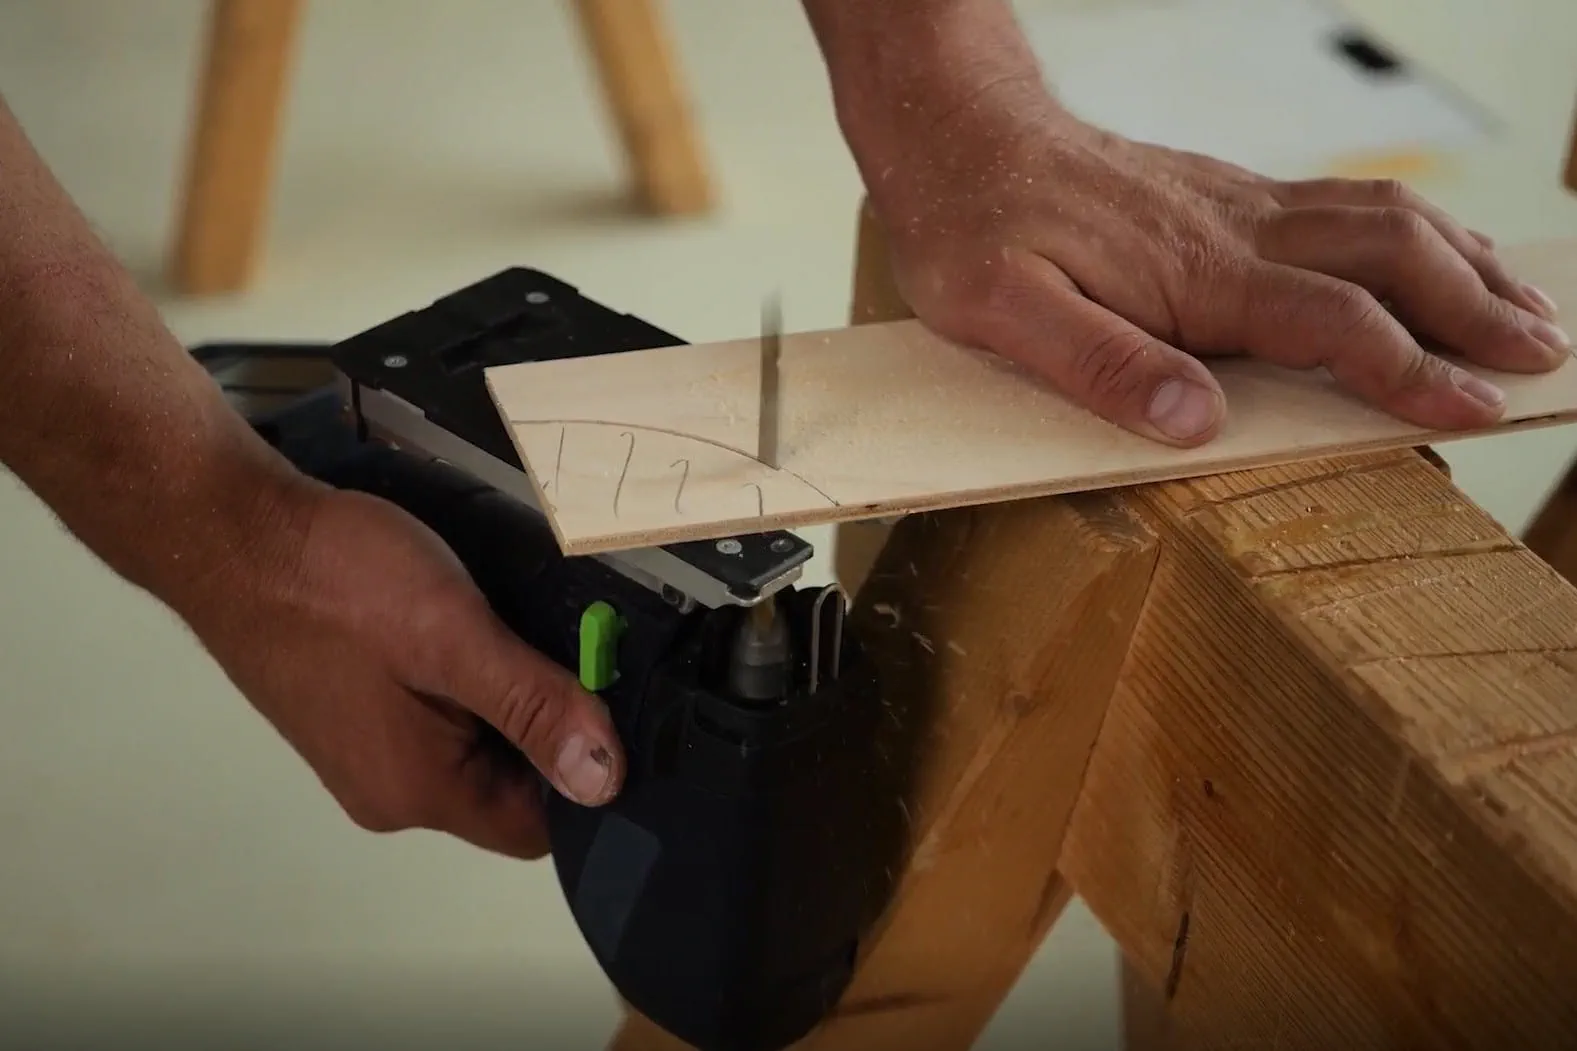
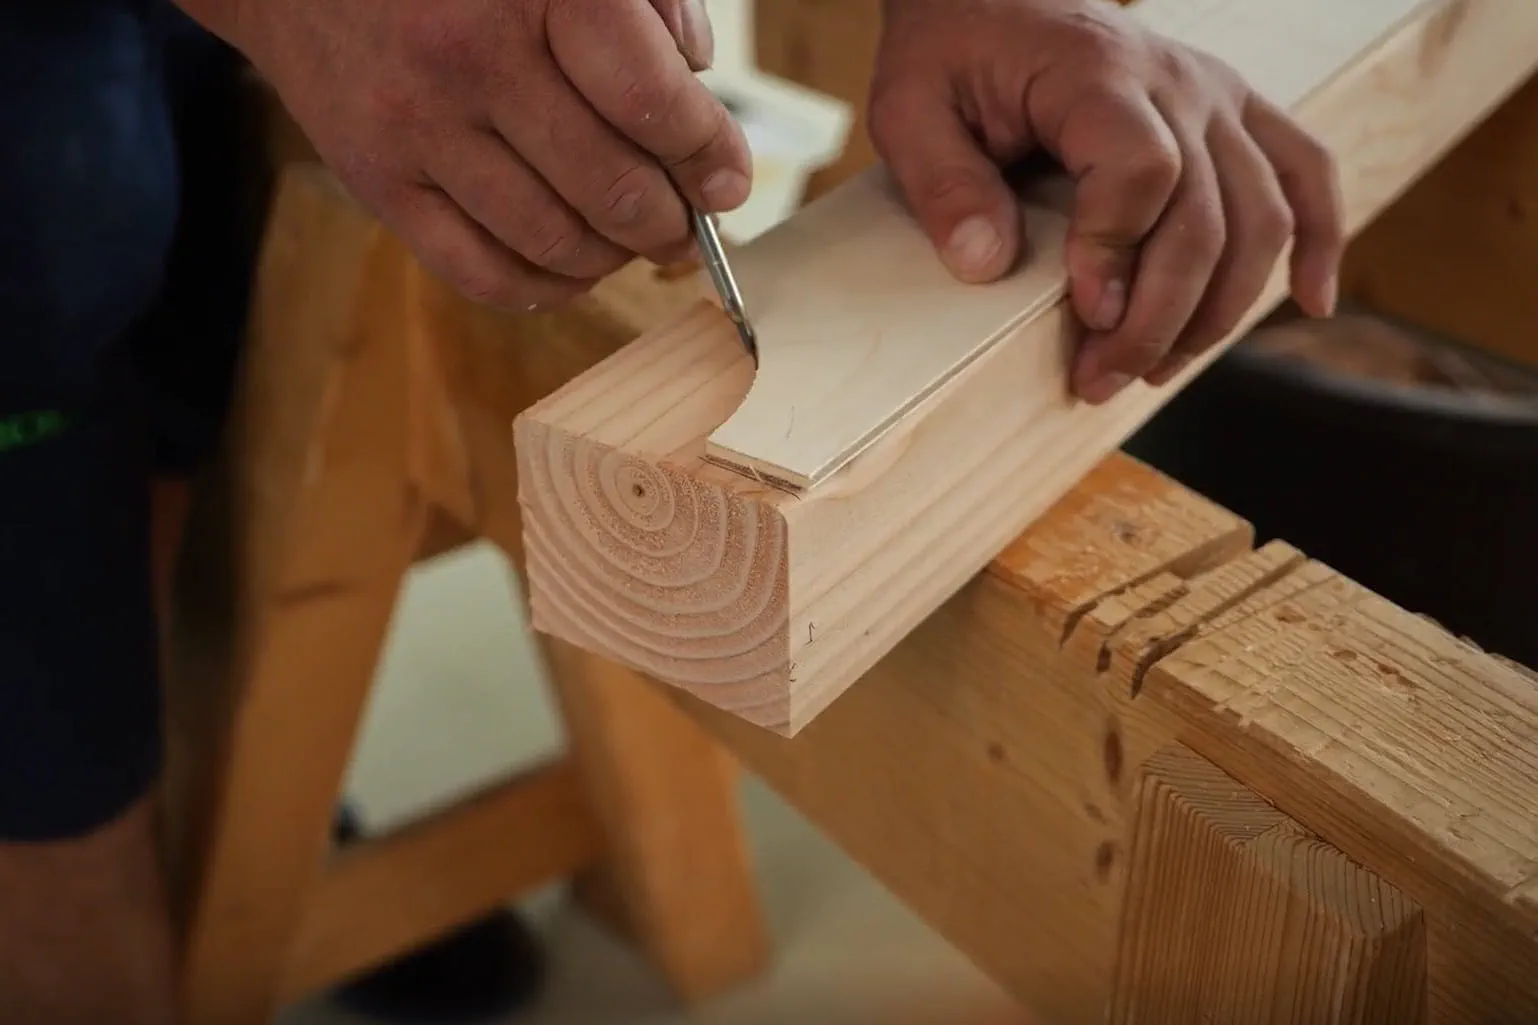
Making a template for the purlin head. To make the purlin head, start by making a template out of card. The shape of the purlin head can be customised entirely according to personal taste
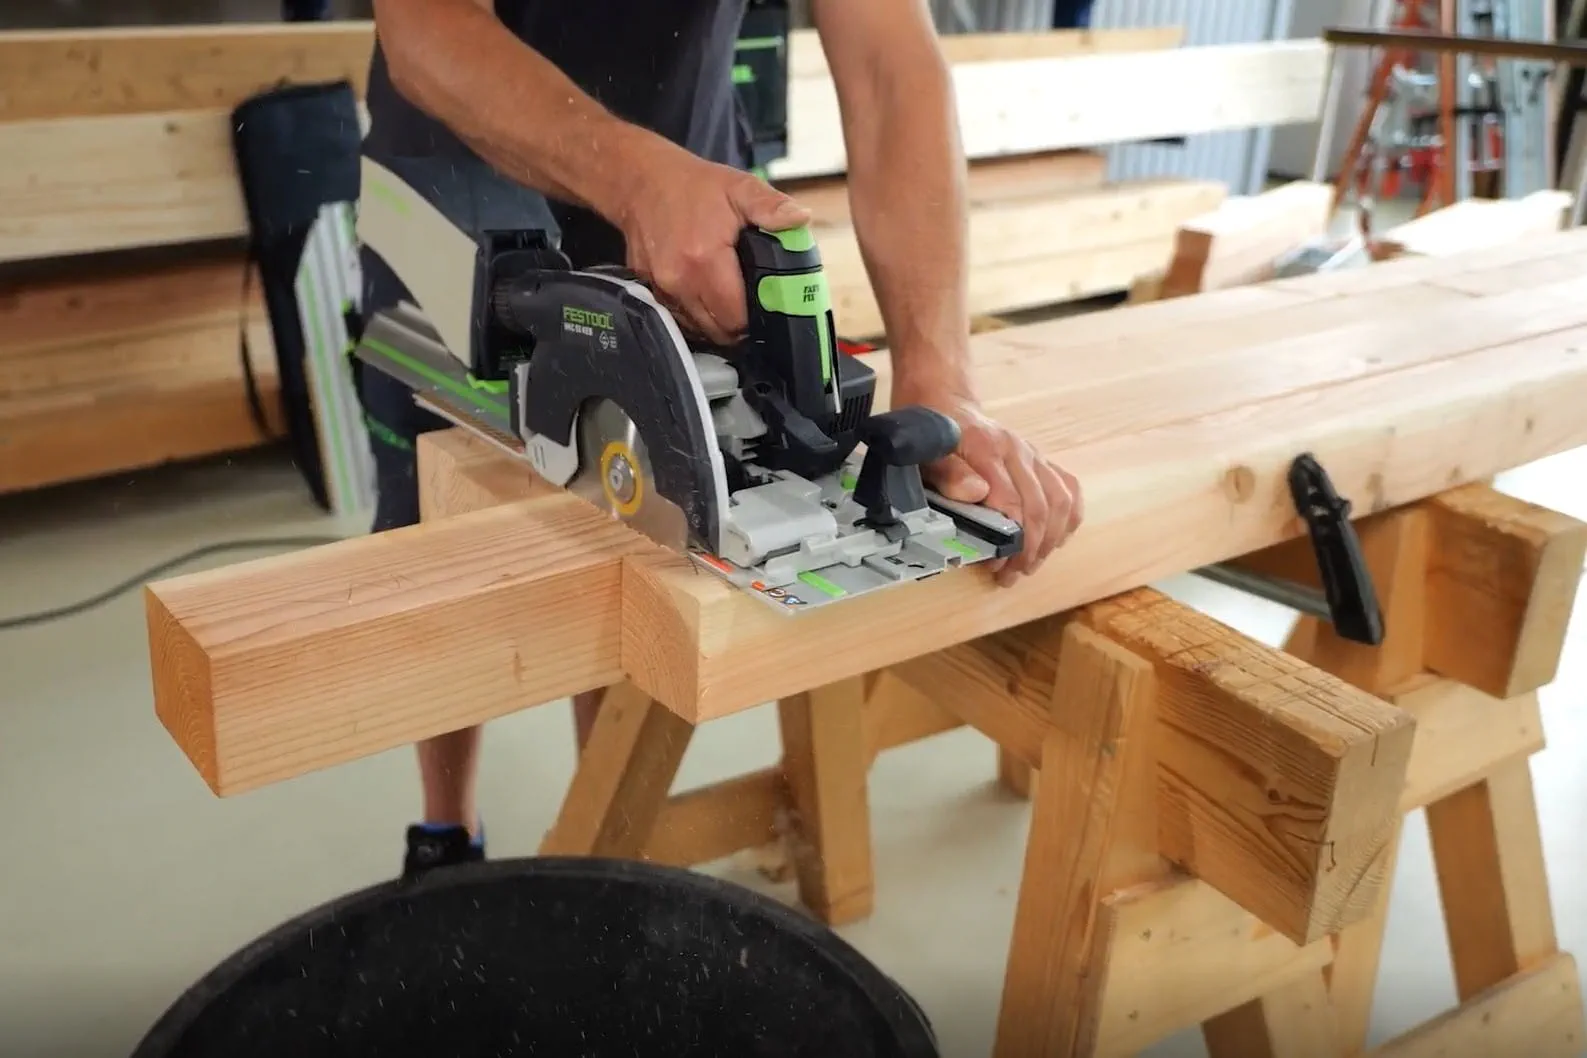
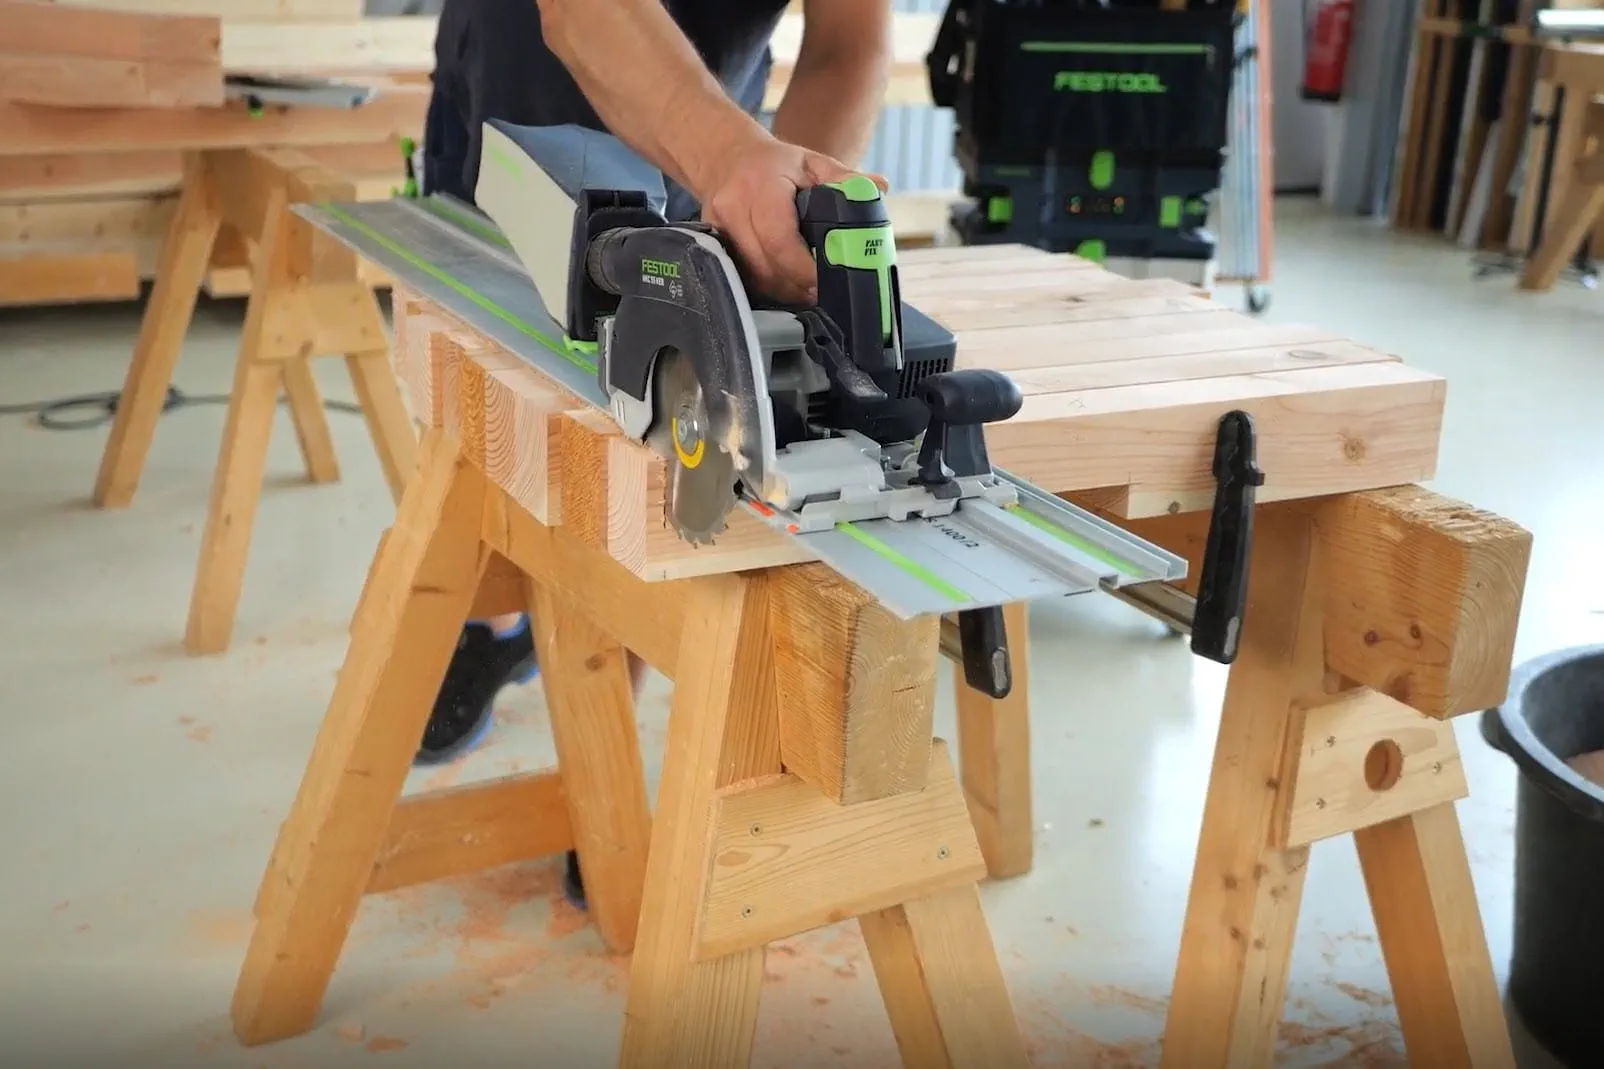
The cuts are made using a cordless circular saw fitted with a mitre guide. As the saw’s maximum cutting depth is not sufficient to cut through the entire cross-section of the timber, the cuts are made from two sides. Alternatively, the cut can, of course, also be made using a larger saw with a cutting depth sufficient for the relevant timber cross-section.
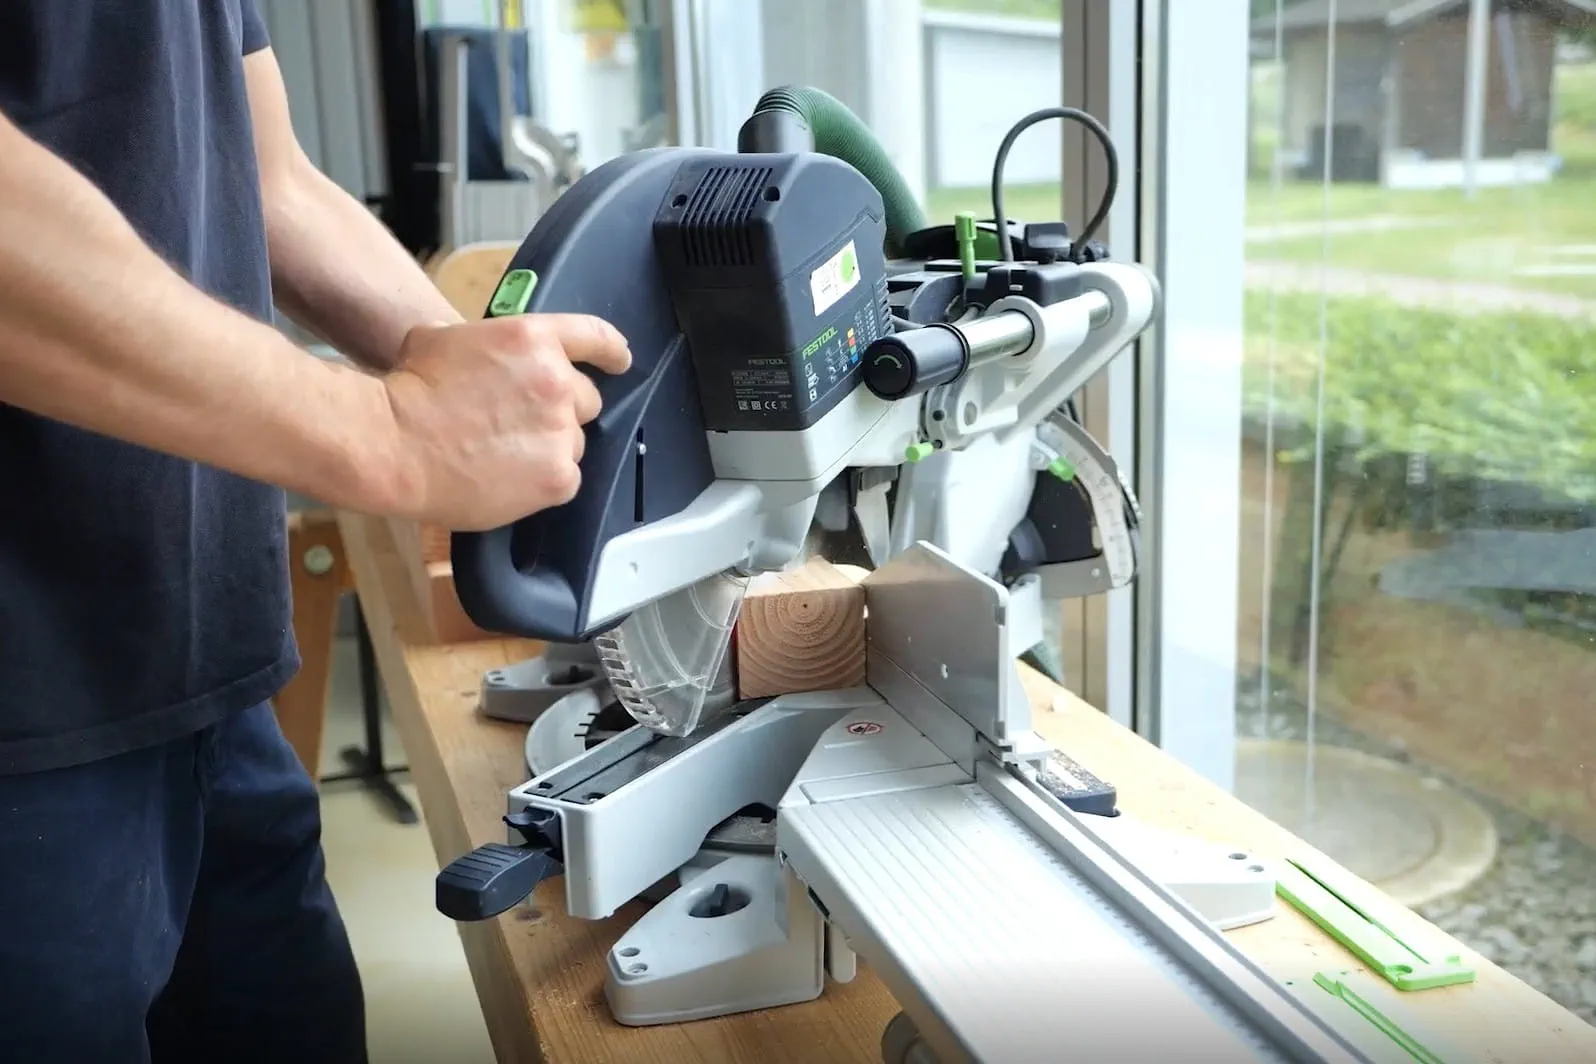
Once the lines have been marked out, the 45° cuts are made using the mitre saw. With a bit of practice, these cuts can also be made using a cordless circular saw and a mitre guide. However, for precise and repeatable cuts, the mitre saw is the better choice.
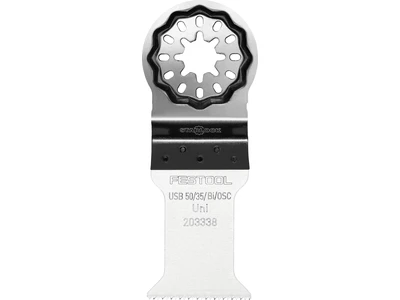
The brackets should be rounded off for aesthetic reasons. The cut is made using a cordless jigsaw. The correct saw blade to use is the S 105/4 FSG/5 WOOD UNIVERSAL jigsaw blade.
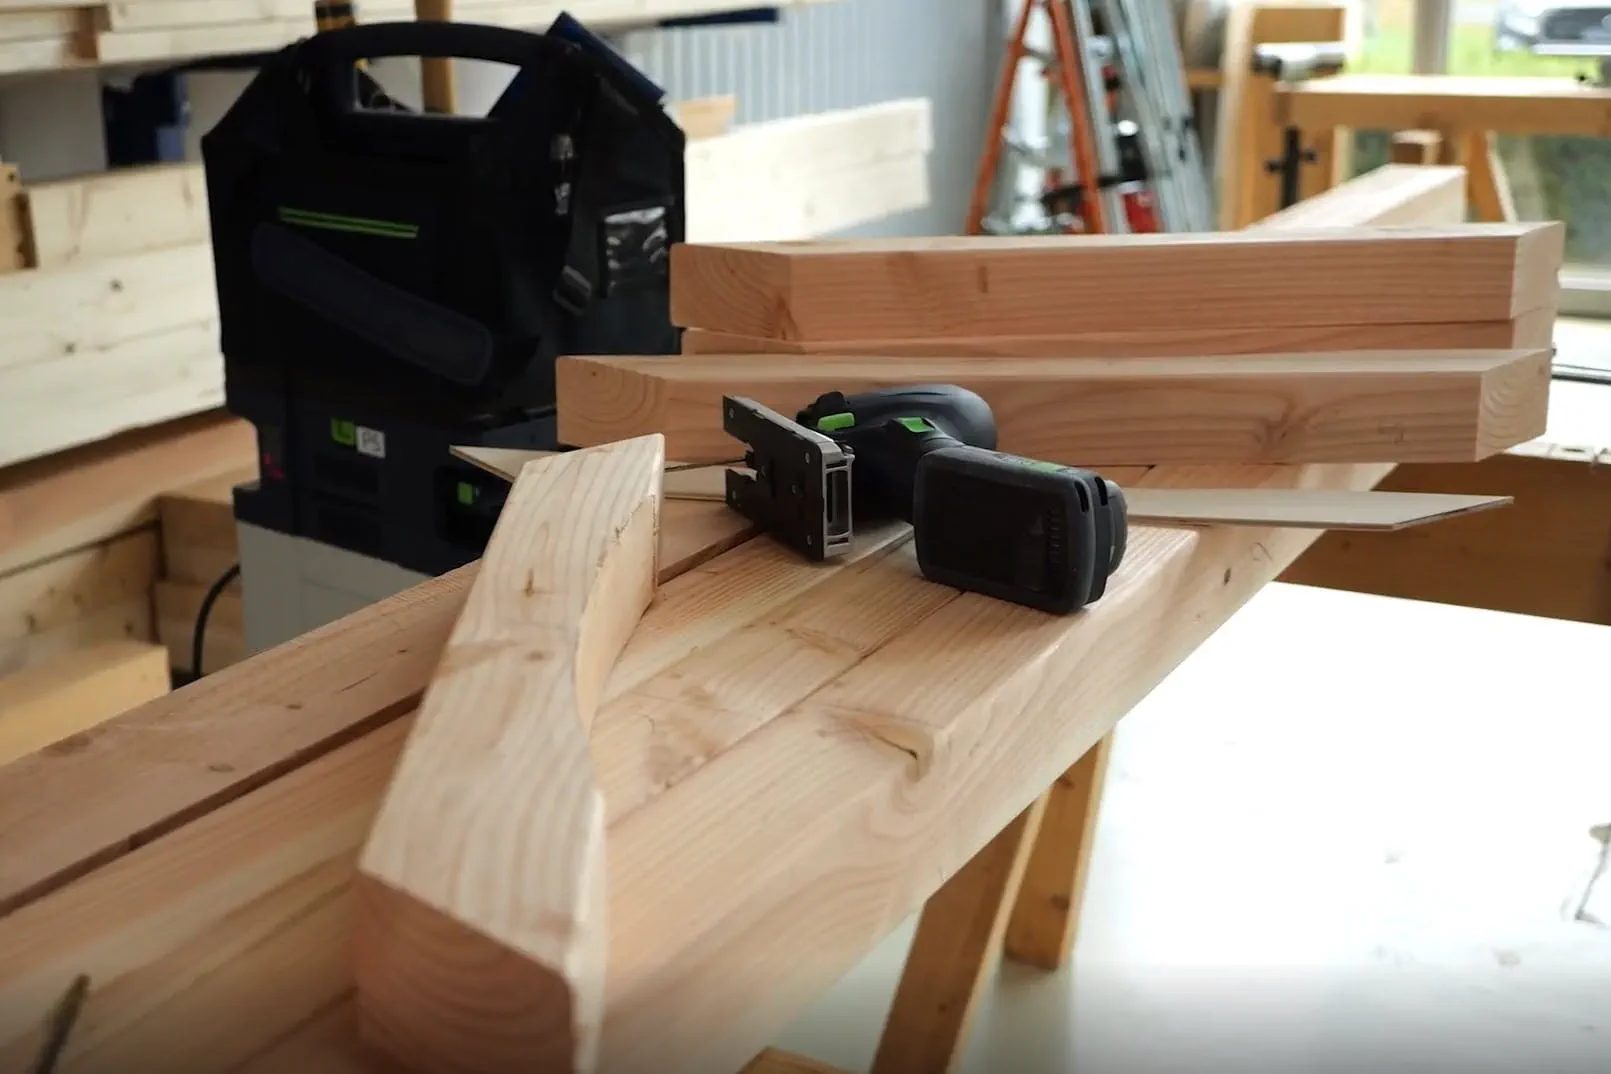
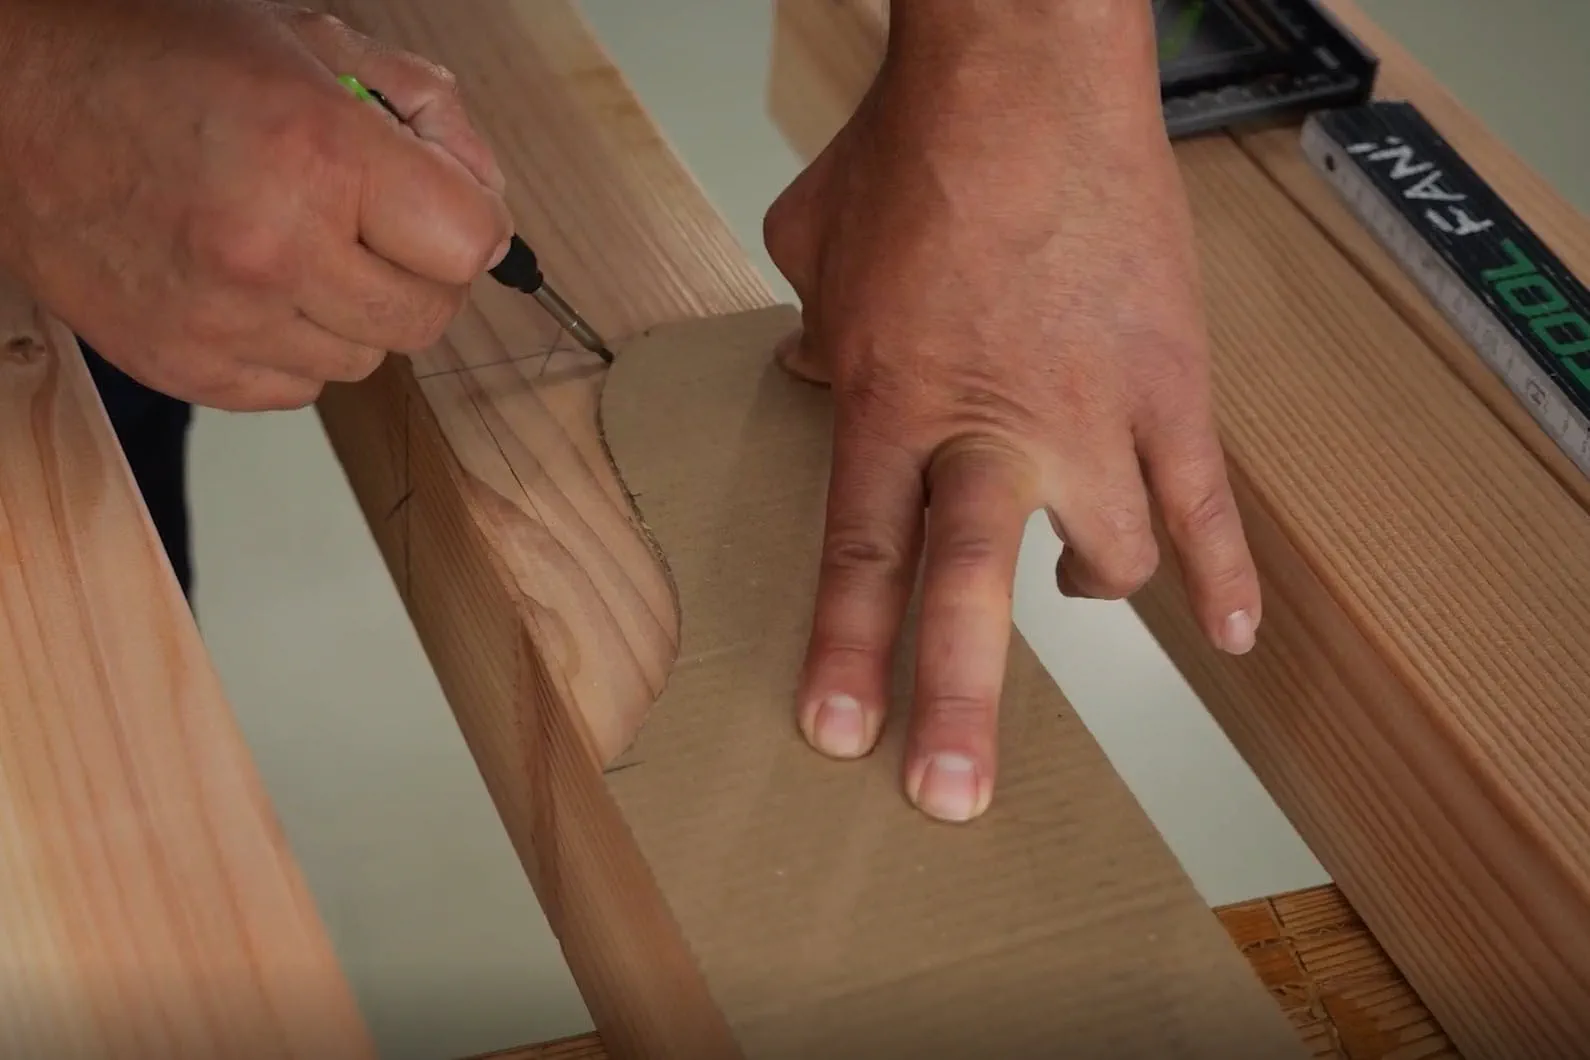
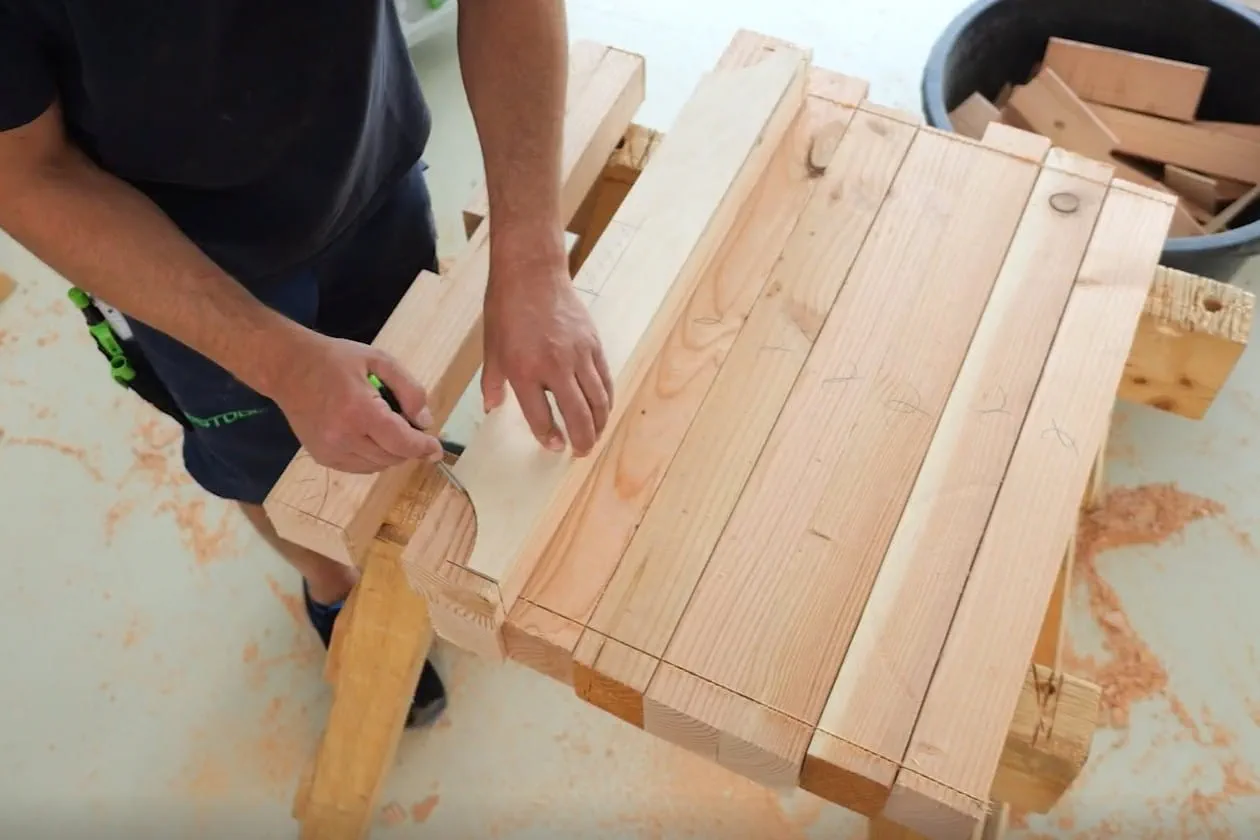
Using the template, two rafters are marked out and all the necessary markings are transferred. This involves marking out both the rafter’s sweep and the two ends of the rafter head.
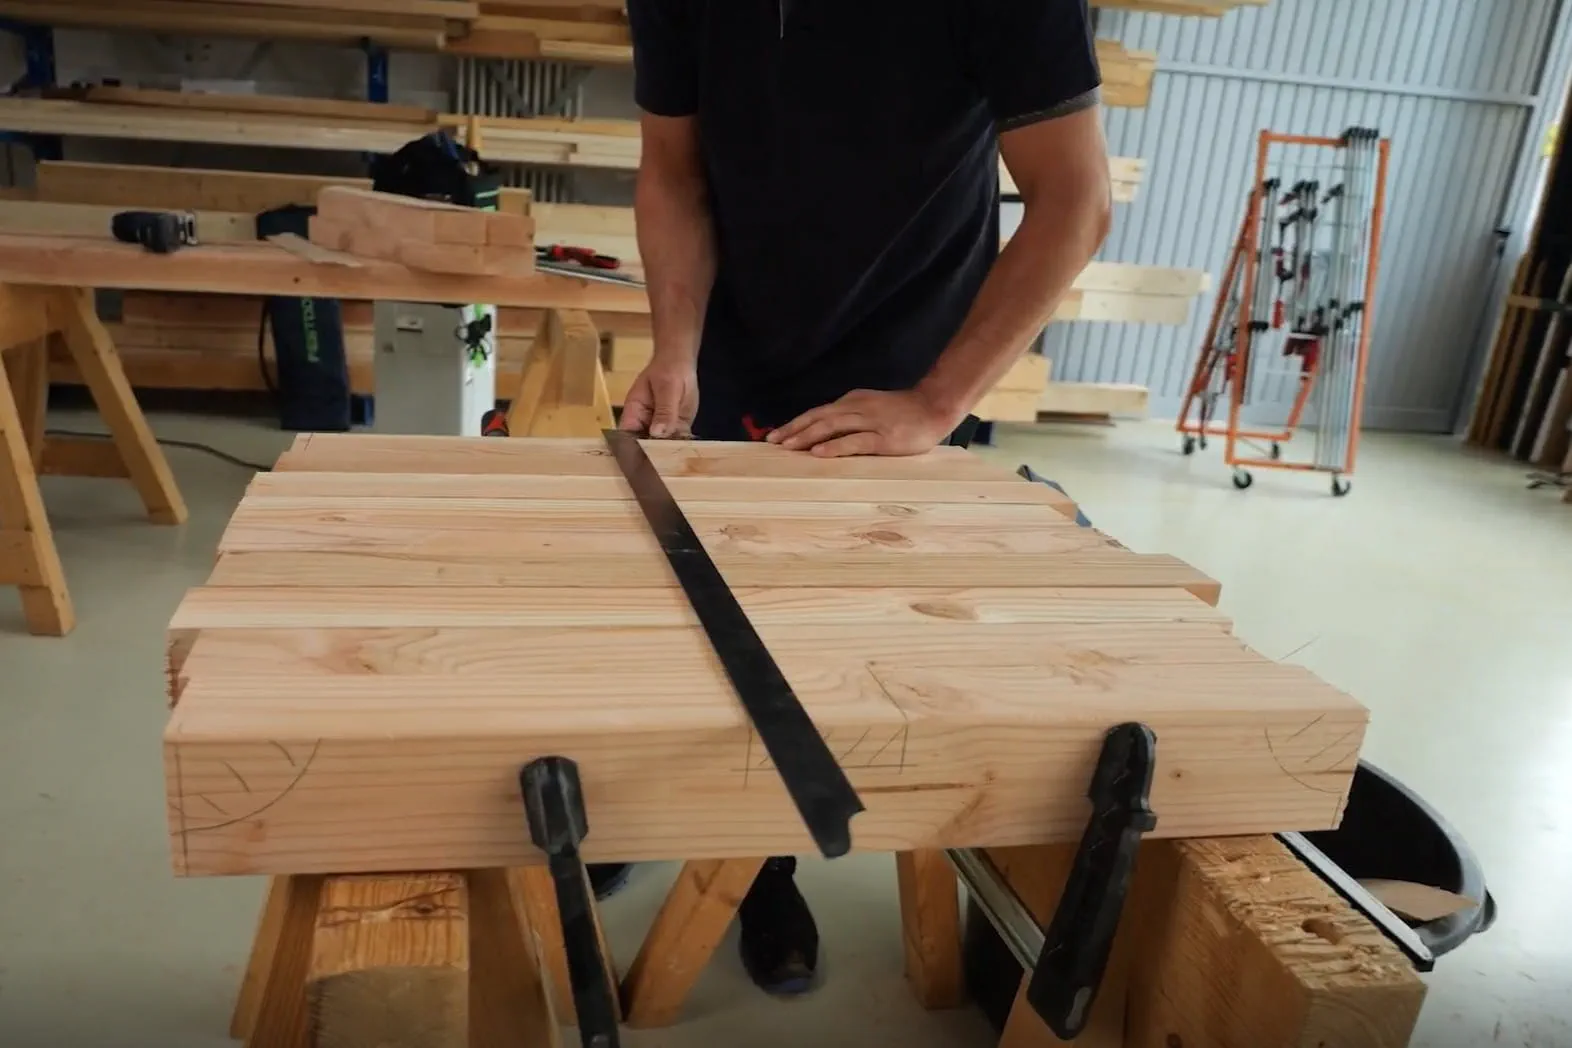
All rafters should be cut to size as a set. This involves making both the end cuts and the tapering in the middle section at the same time. To do this, the two rafters that have already been marked out are each placed on one outer side. The remaining rafters are placed in the middle between them. Care must be taken to ensure correct alignment: the flange sides face downwards. The rafter bundle is then aligned using a set square. After that, the remaining processing steps can be carried out whilst the rafters are still in the bundle.
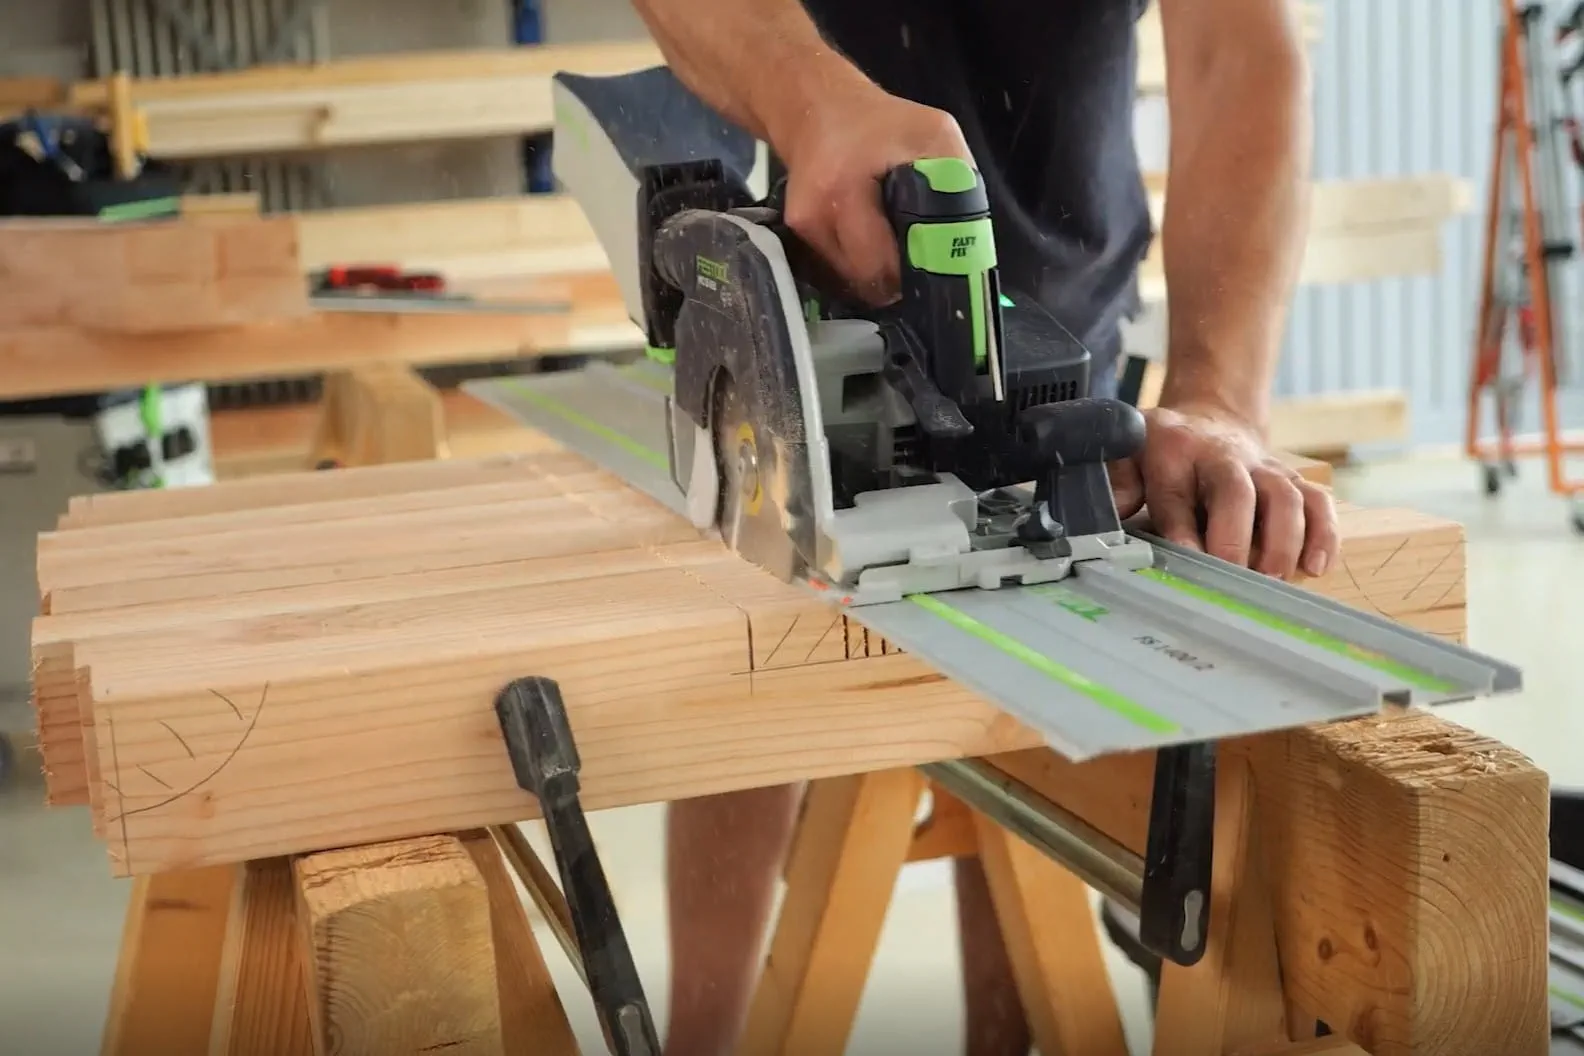
The bevel is created by making several cuts. To do this, the hand-held circular saw must be adjusted to the required bevel depth.
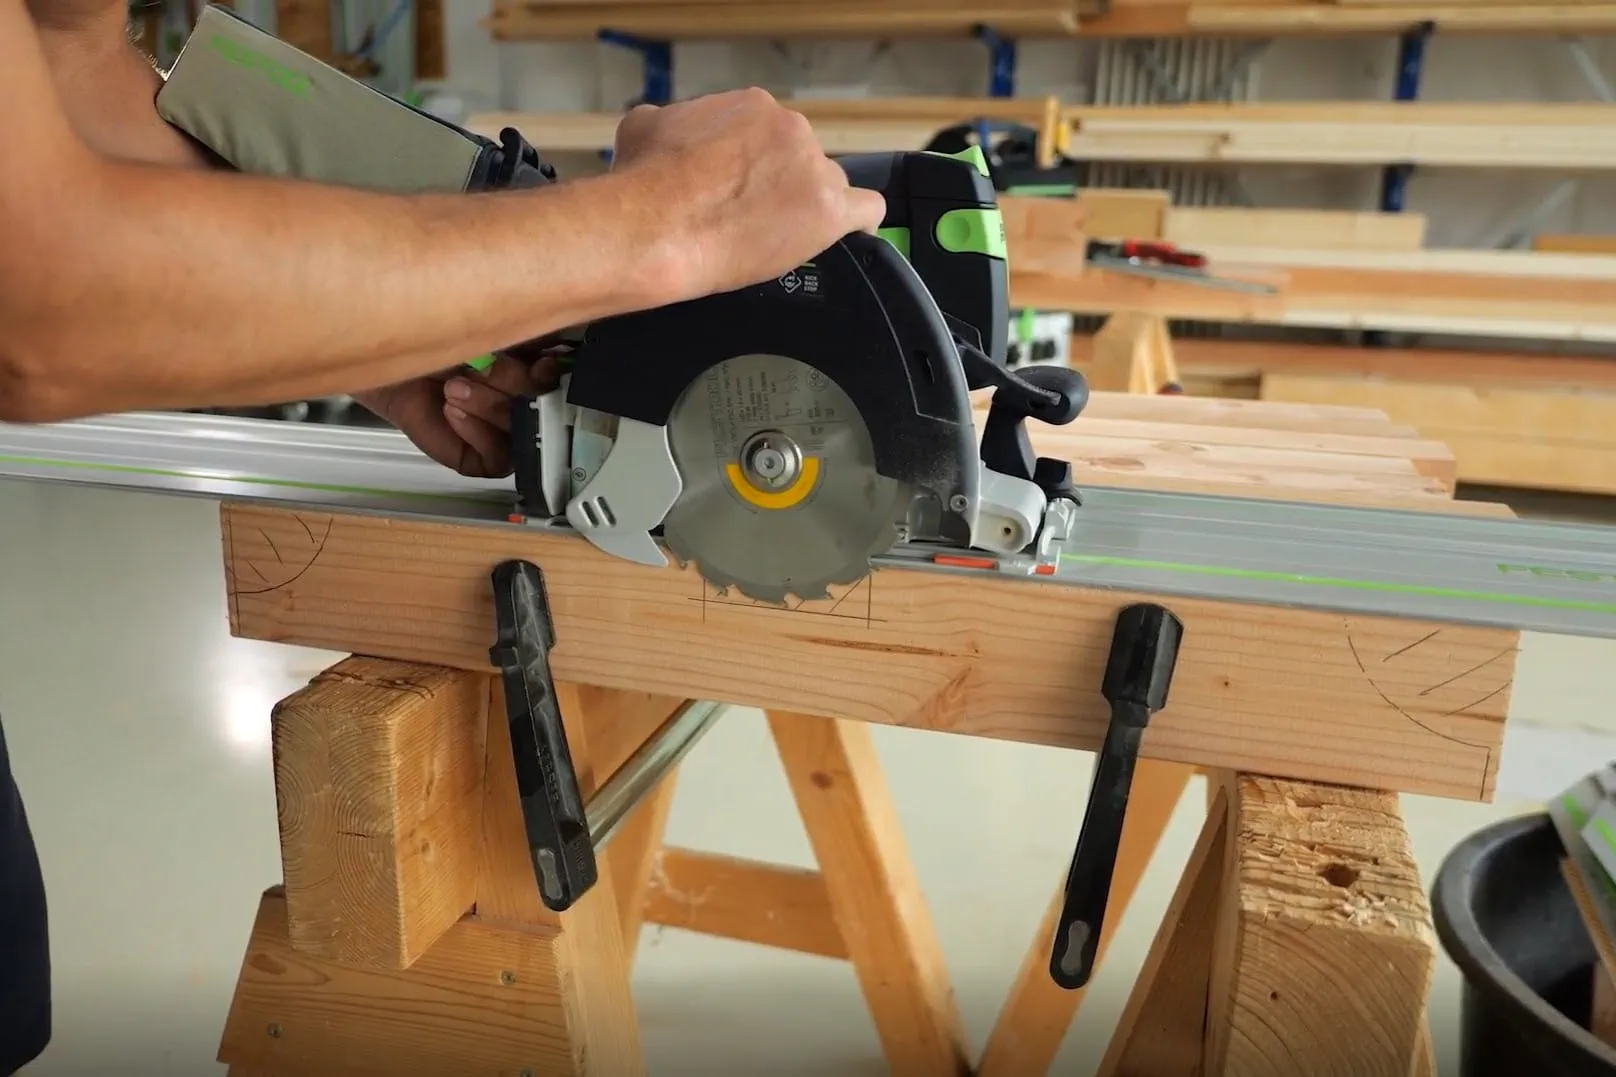
Now it’s time to start sawing. Where there are branches, the cut lines are placed closer together. This makes it easier to finish off the material afterwards.
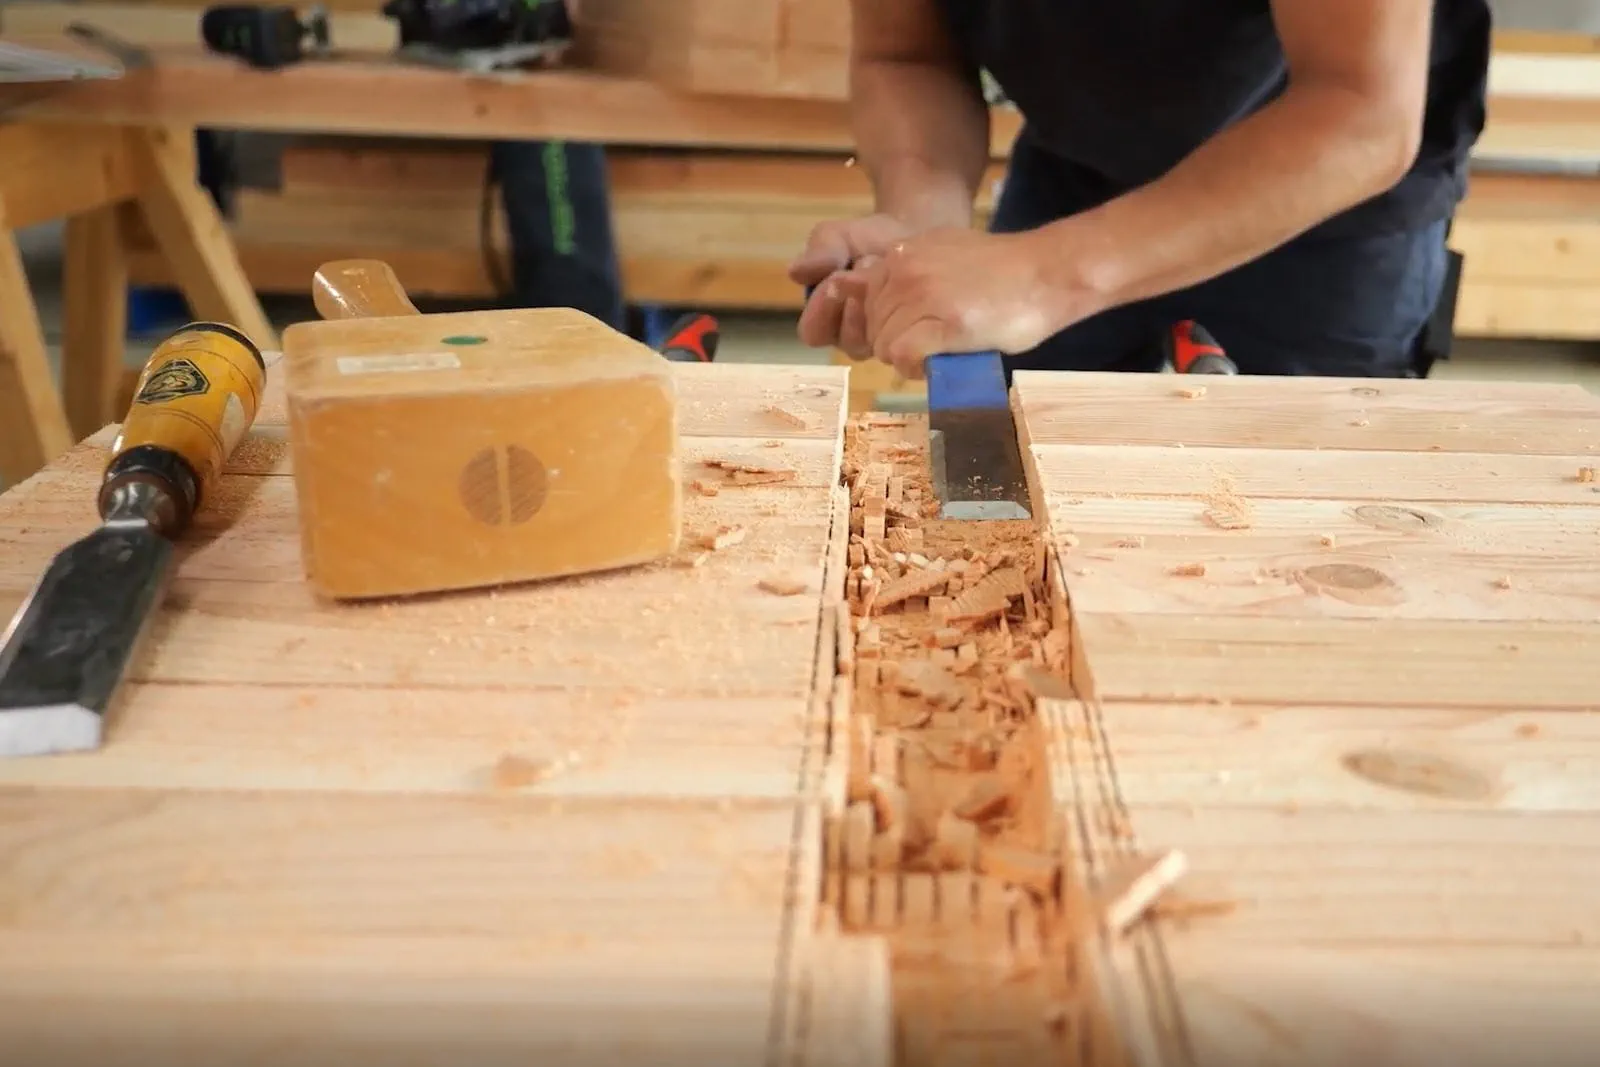
Using a chisel or a gouging tool, the area where the flange is to be removed is now ‘cleaned out’. To do this, the sections are first chiselled out and then finished with the blade to the required final depth.
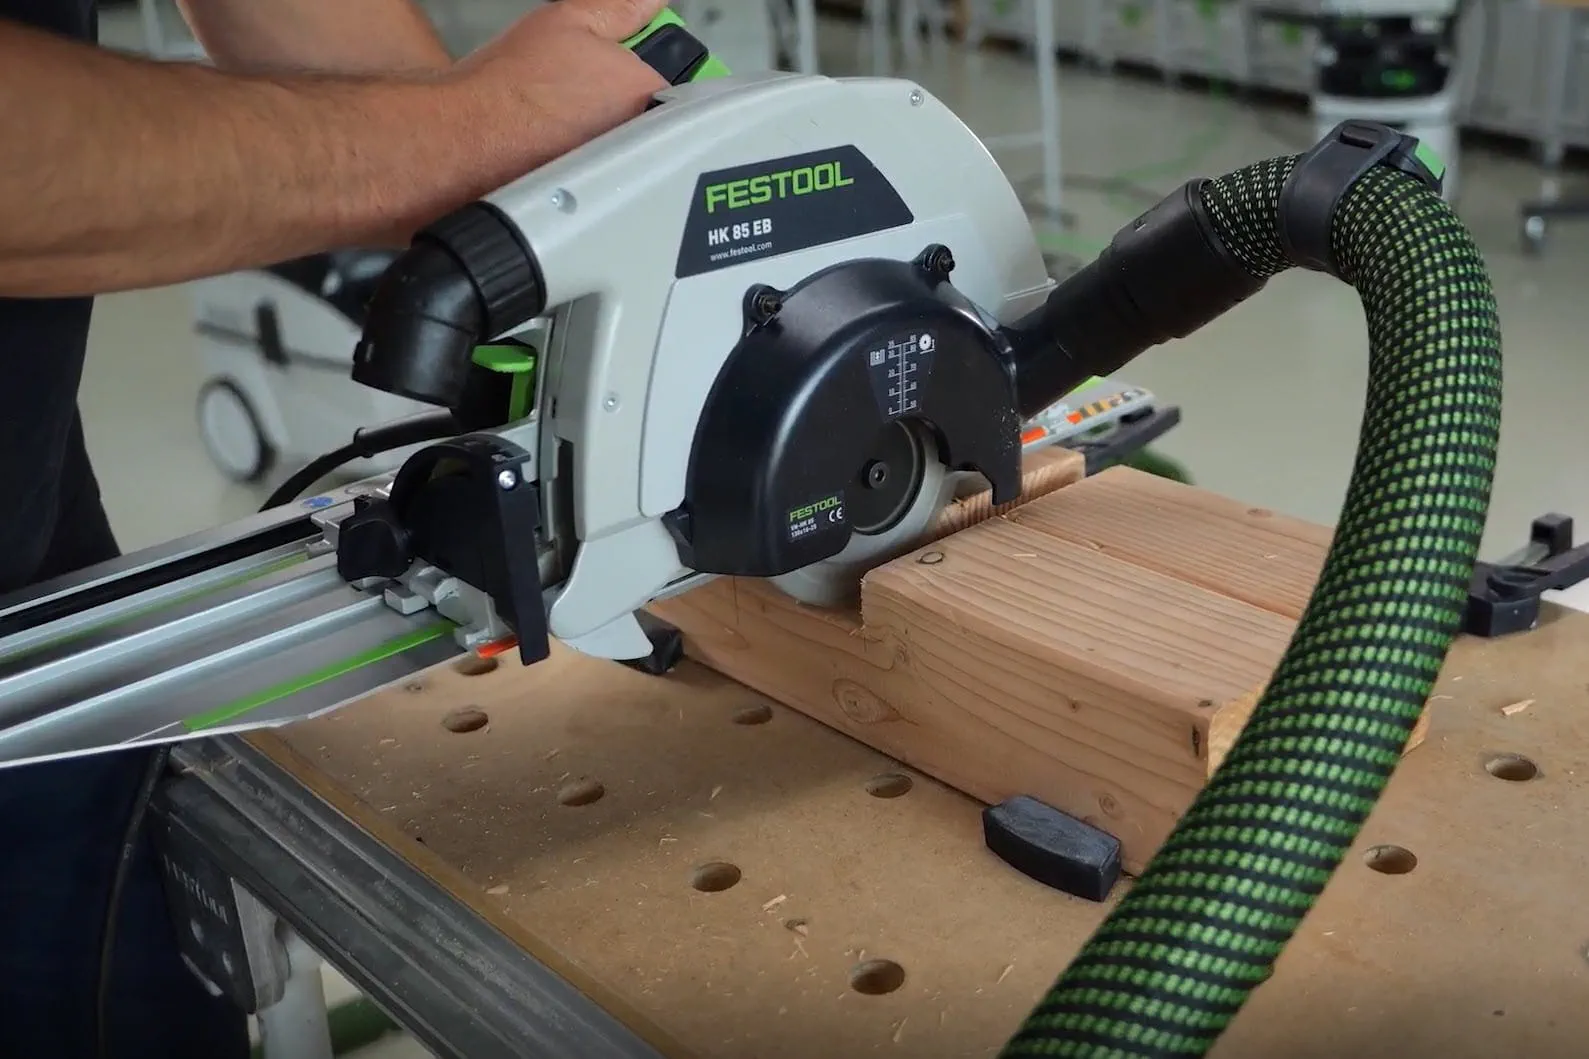
A quick way to cut grooves and recesses is to use the adjustable grooving attachment on the HK 85 hand-held circular saw. With the adjustable groover fitted to the HK 85, grooves and recesses can be produced quickly and efficiently by repeated milling.
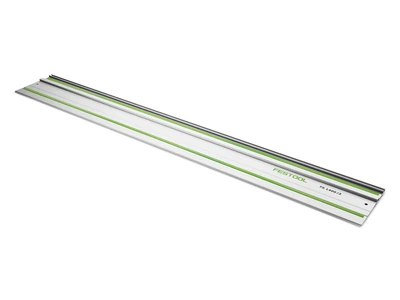
The mitre cut at the ends of the rafters is made using a cordless circular saw and a guide rail. It is not necessary to complete the cut, as the lower section will subsequently be rounded off.
All rafter heads are marked out using the template and given a rounded edge.
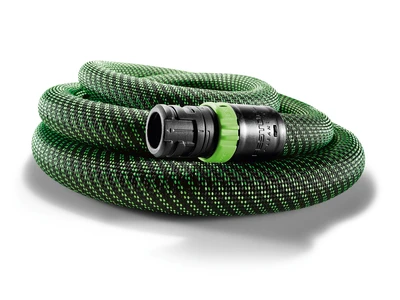
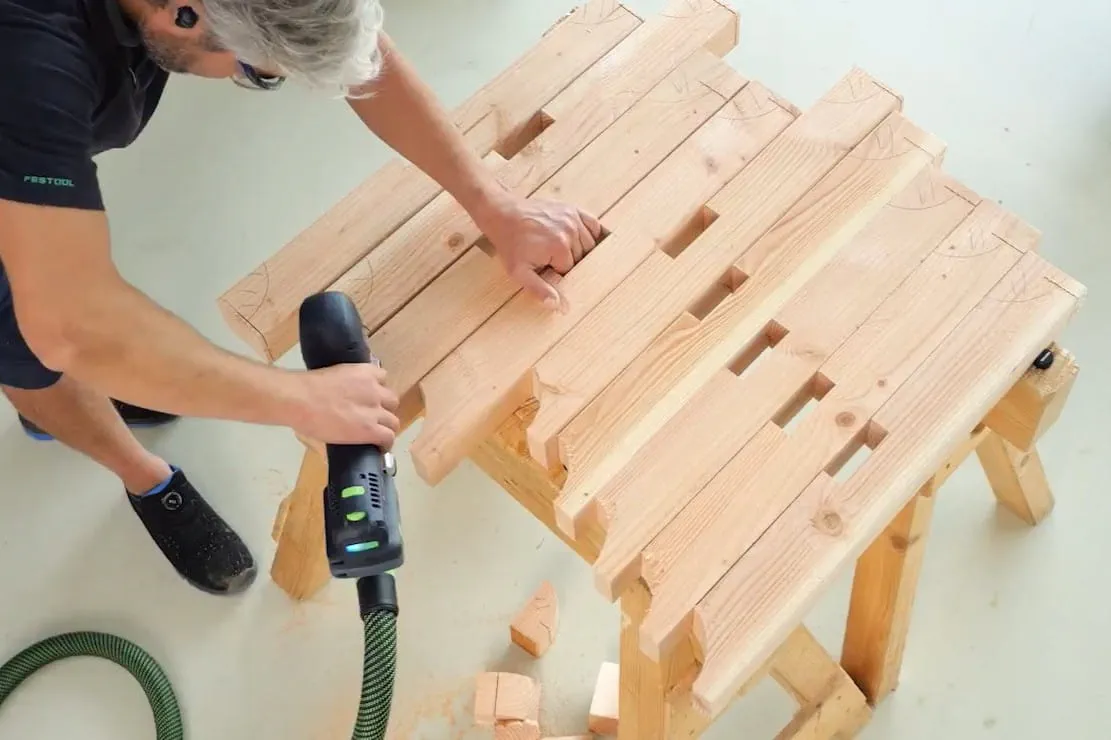
Use the cordless jigsaw to cut out all the curves at the rafter heads. The correct saw blade to use is the S 105/4 FSG. If you are making a lot of cuts, it is advisable to use a dust extraction system.
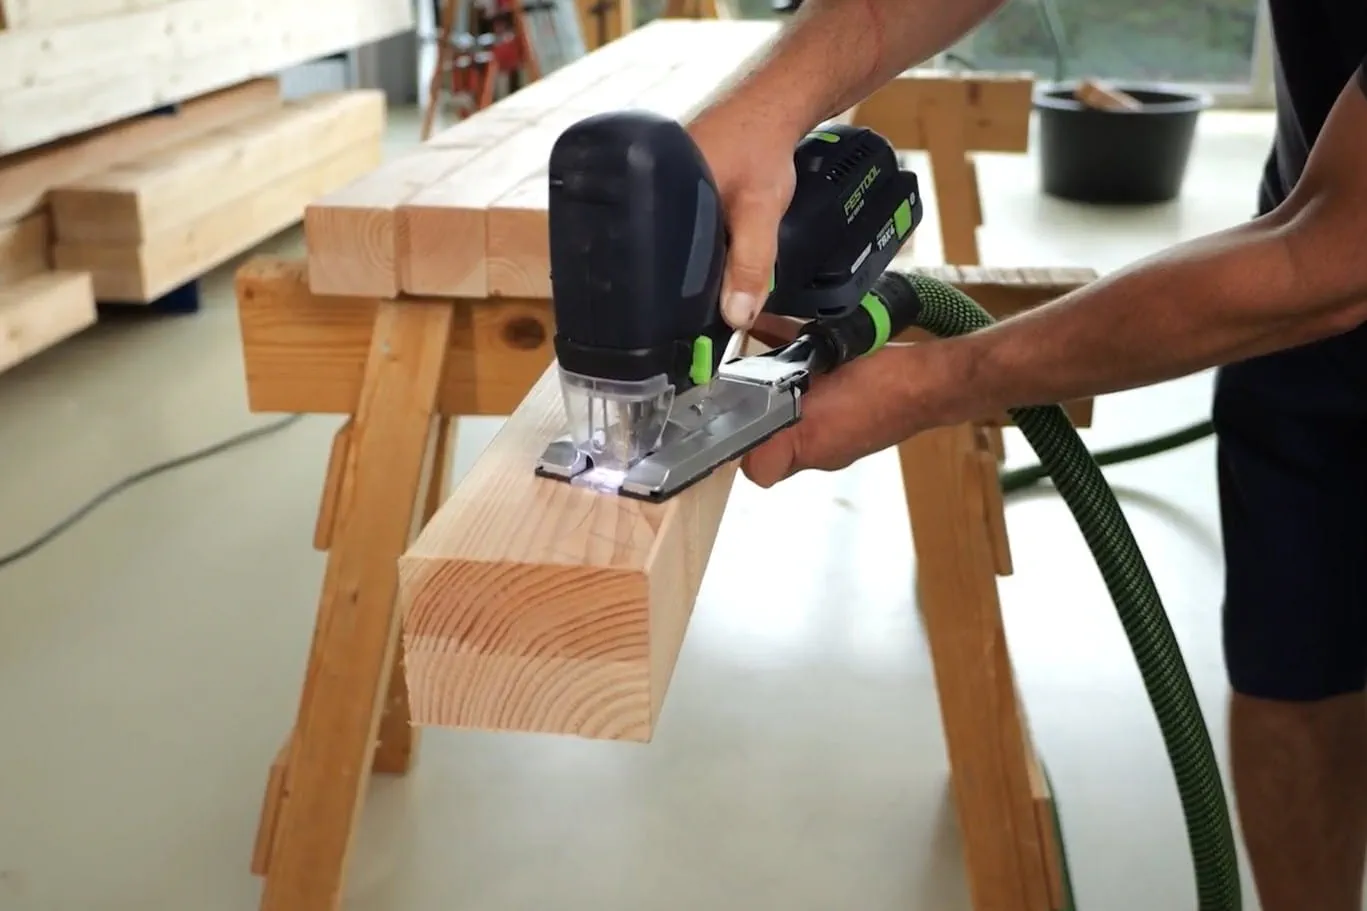
The ends of the purlins should also be given a decorative finish. With the cordless jigsaw, even cuts in thicker sections of timber can be made with ease. With the splinter guard fitted and the correct saw blade, you can achieve clean cuts with edges that are virtually free of tear-outs. The S 145/4 FSG is particularly well suited to cutting curves.
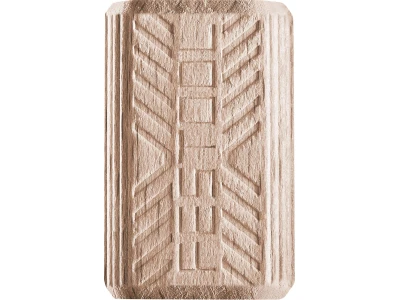
A classic timber joint in carpentry is the mortise and tenon joint. In this case, a plug-in joint is created using a DOMINO dowel. This allows the components to be easily slotted together and ensures they are already correctly positioned for subsequent fastening with screws.
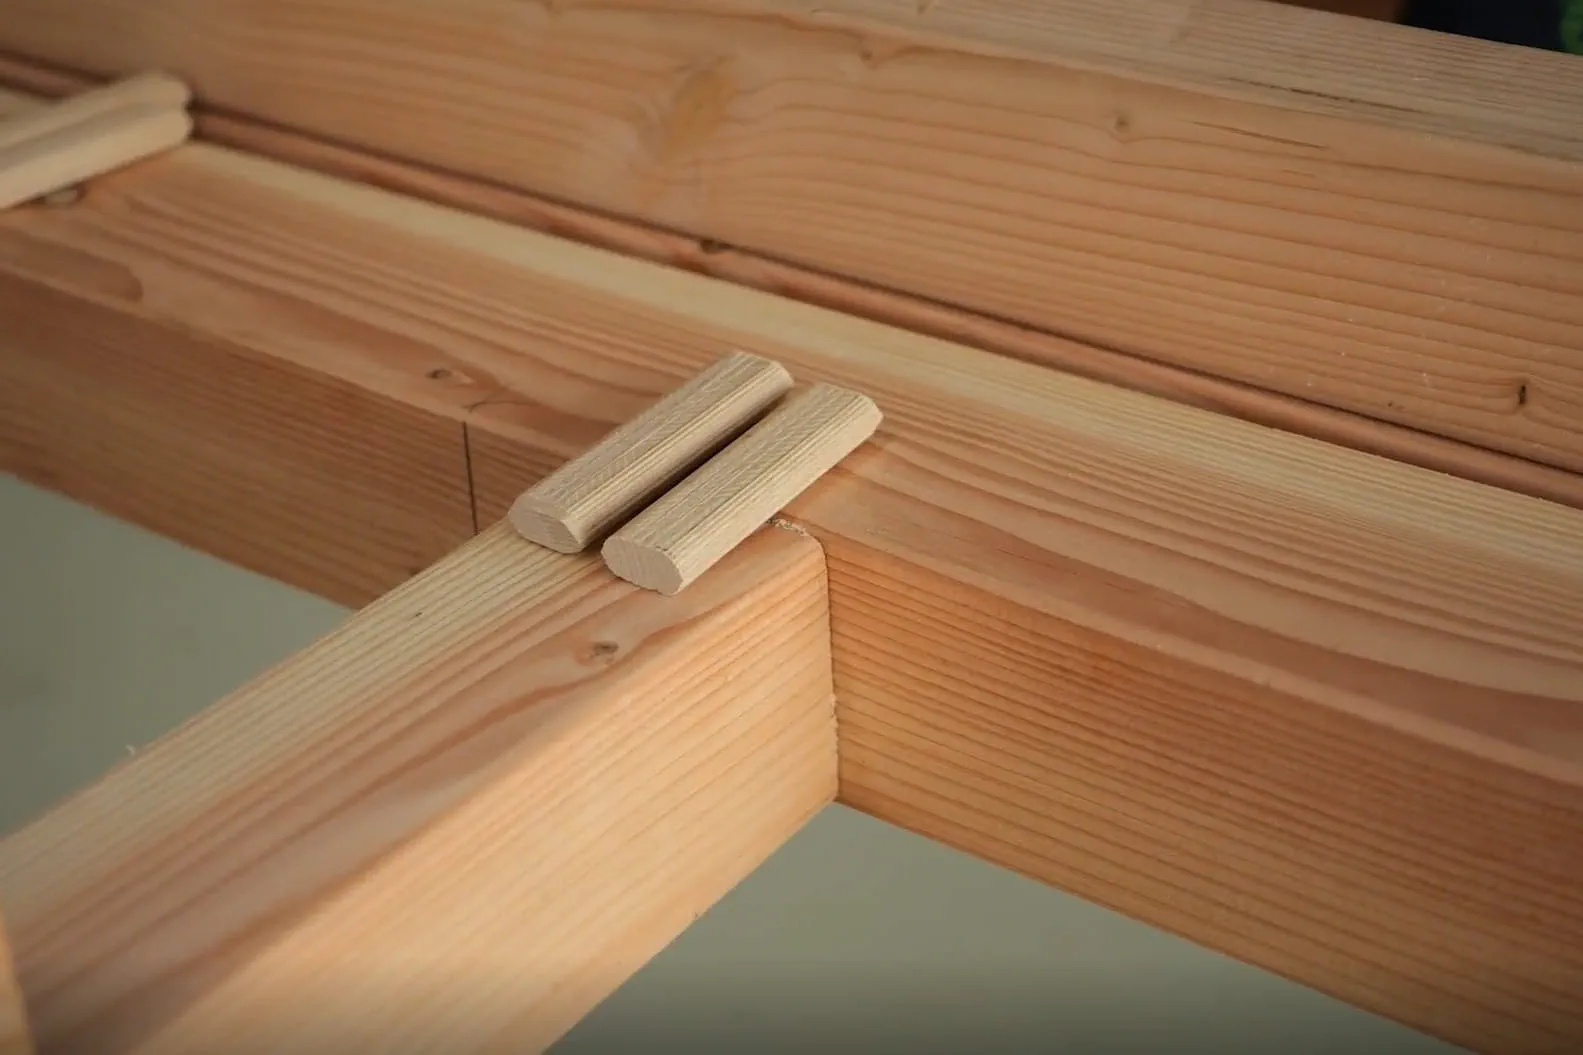
The connection is made using two 14-mm dowels positioned one above the other. The positioning can be chosen freely, provided that the reference sides remain the same. It is therefore advisable to use the flange side as a reference and always measure from the same reference edge of the post.
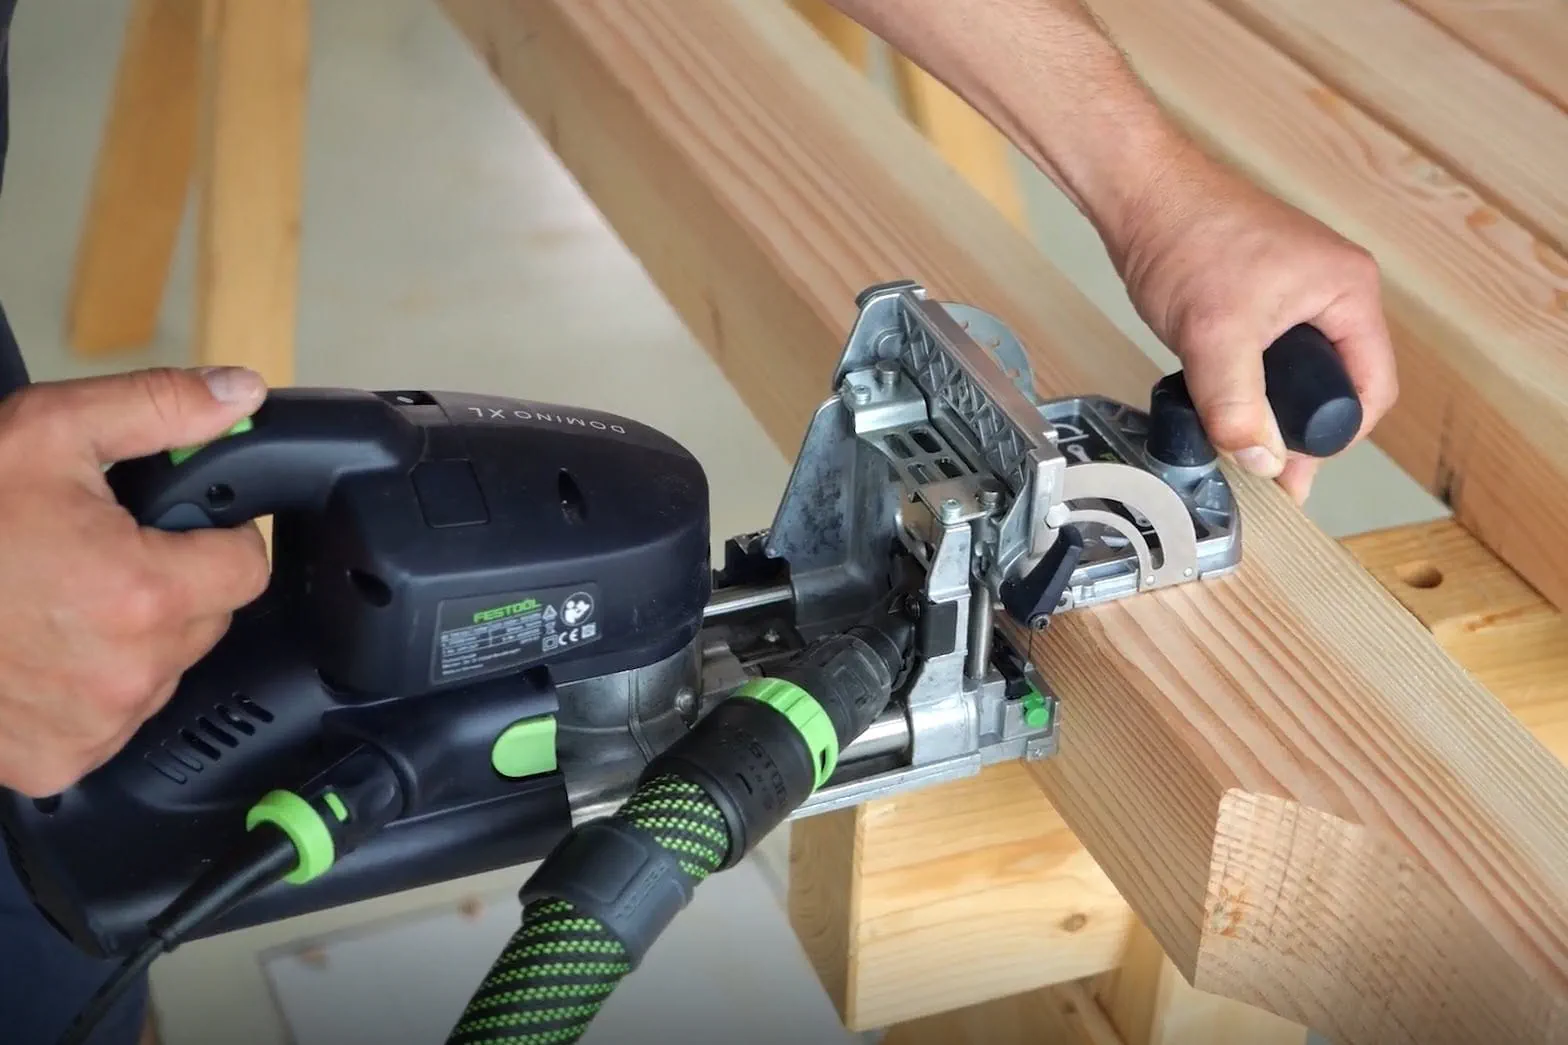
Tip: Use the mark that corresponds to the second fixing pin. You can then position the pin against the post.
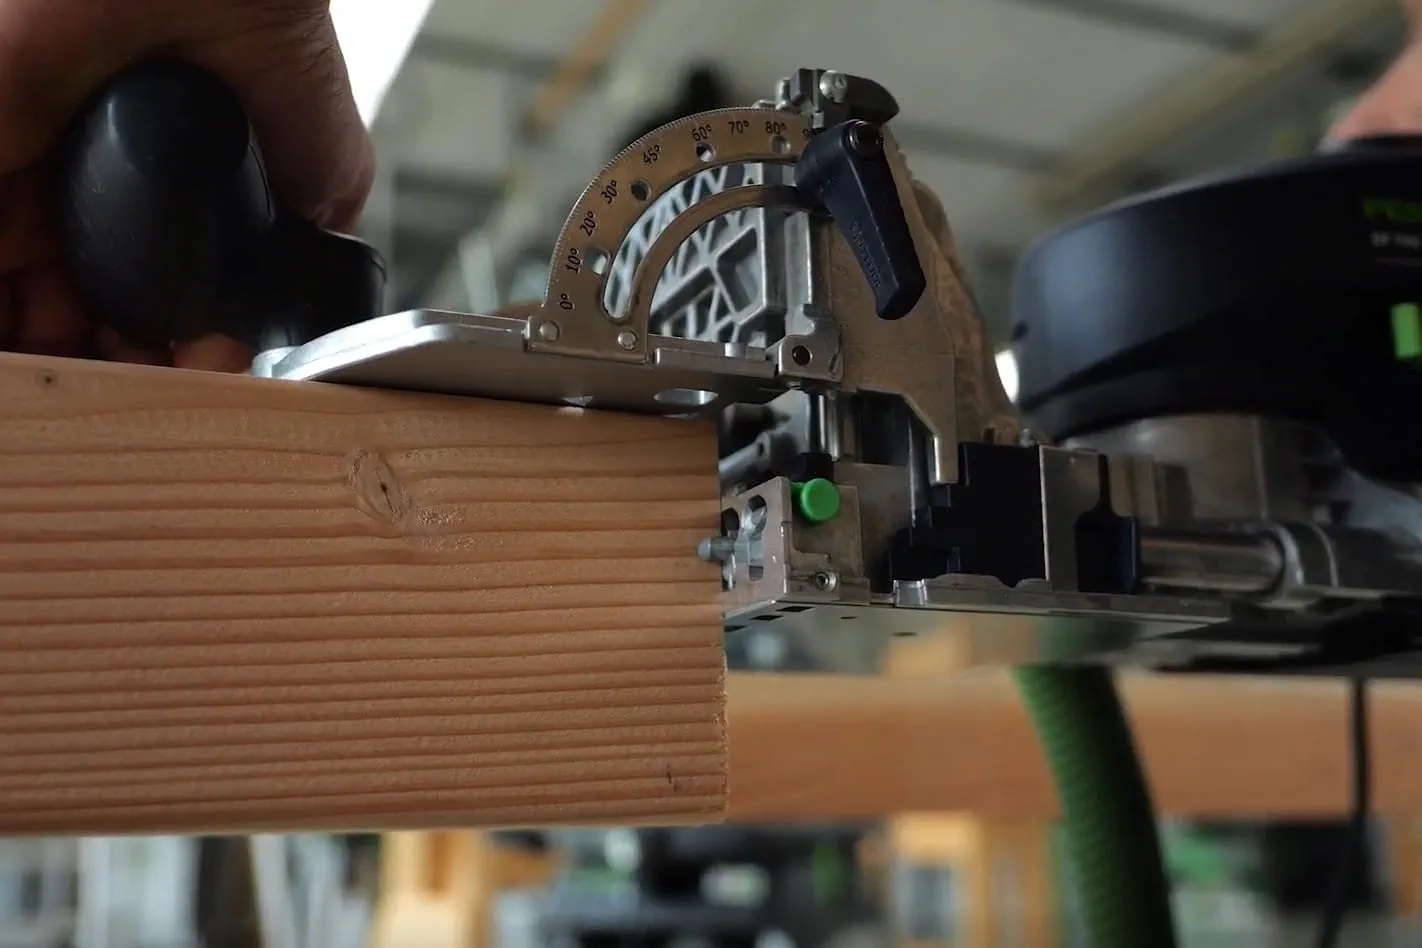
The position of the joint is determined using an axis mark, which is positioned as centrally as possible on the component. In this example, a measurement of 8 cm was taken inwards from the front edge of the bow.
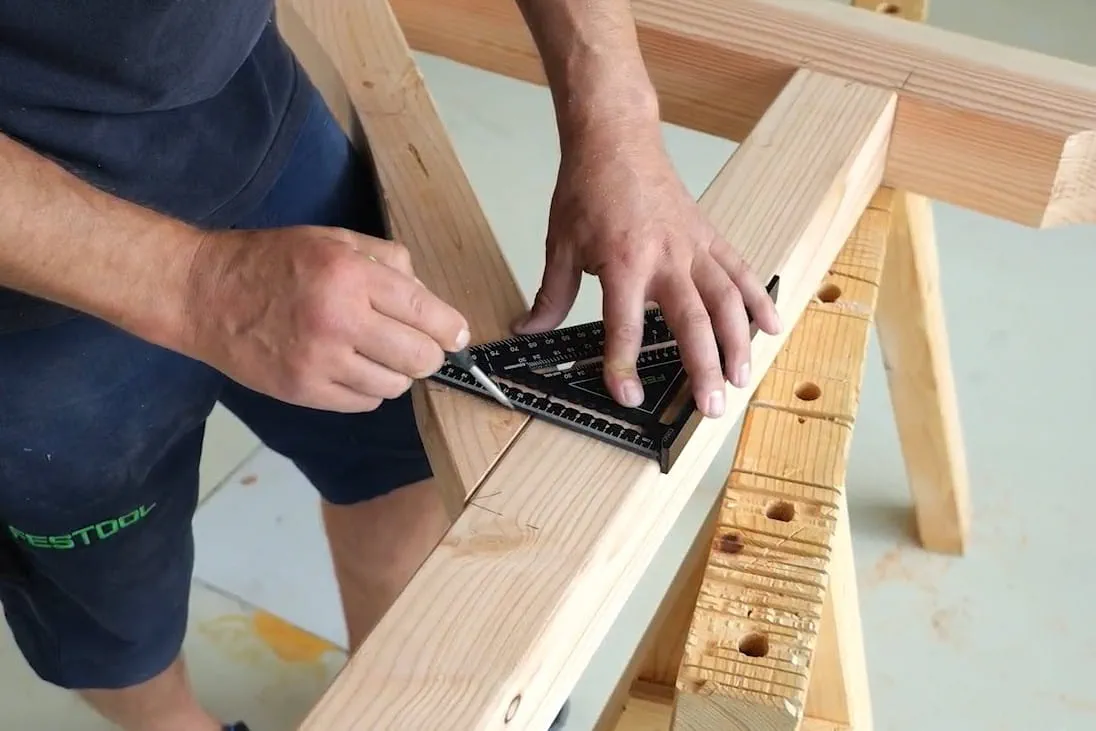
SIPO dowels are used for the connection, as the structure will subsequently be located outdoors. The dowels are used solely for positioning and do not perform any load-bearing function. The required load-bearing capacity of the connection is ensured by the additional bolted connection.
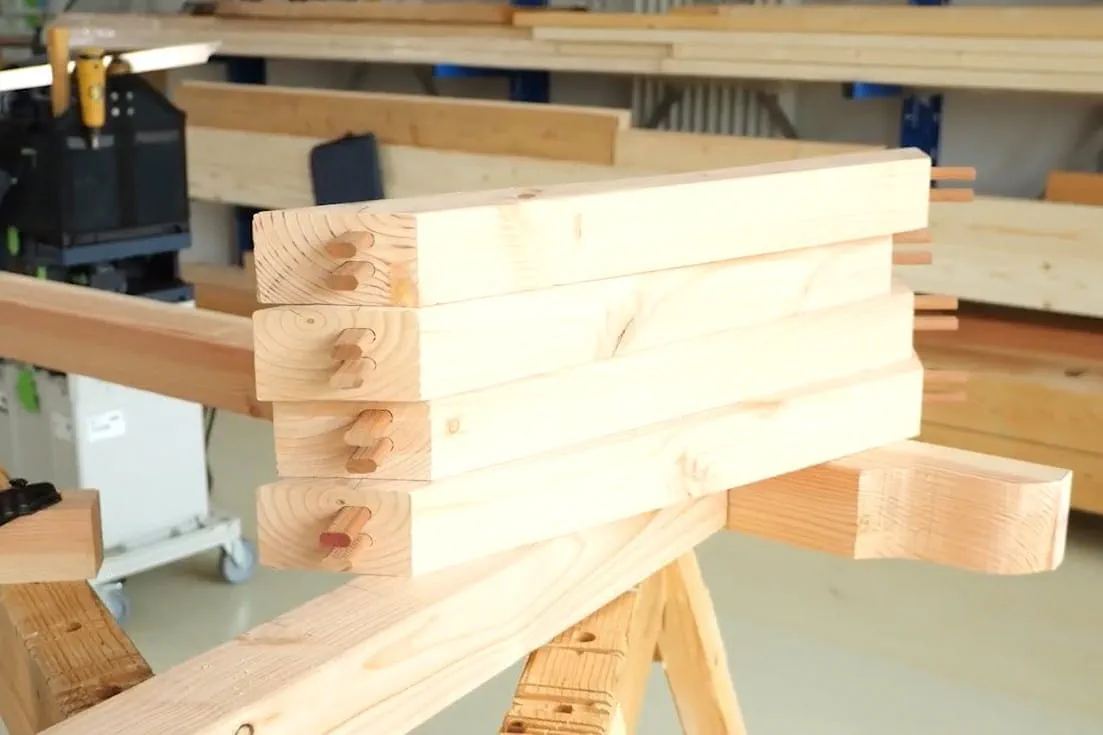
It is advisable to carry out a trial assembly to check the fit; this will prevent complications at the installation site.
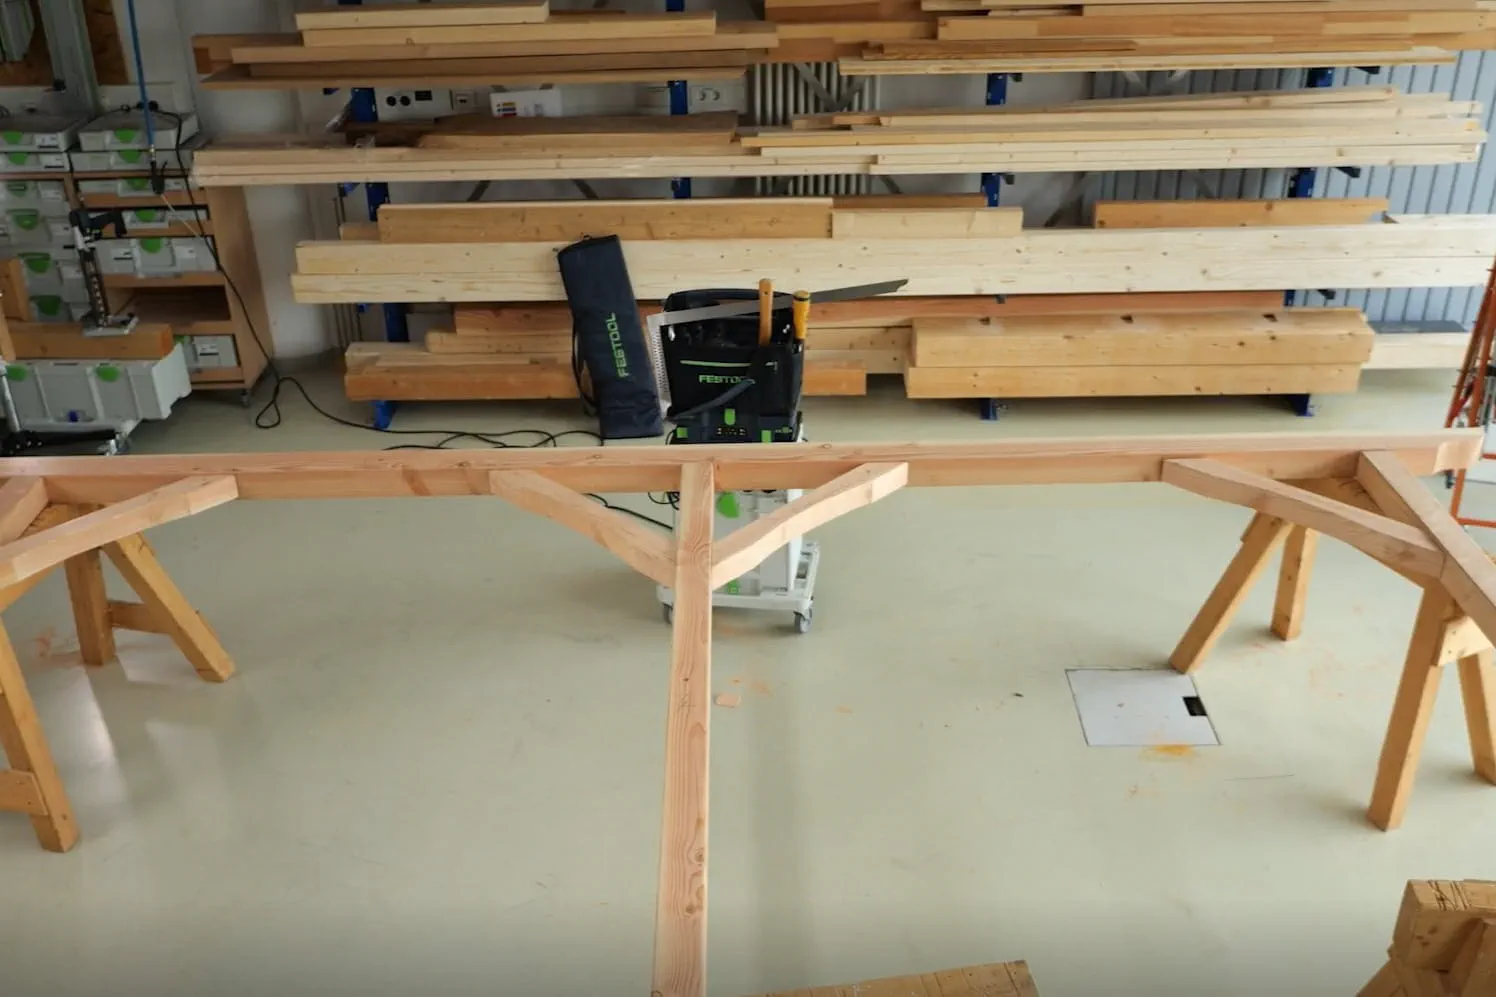
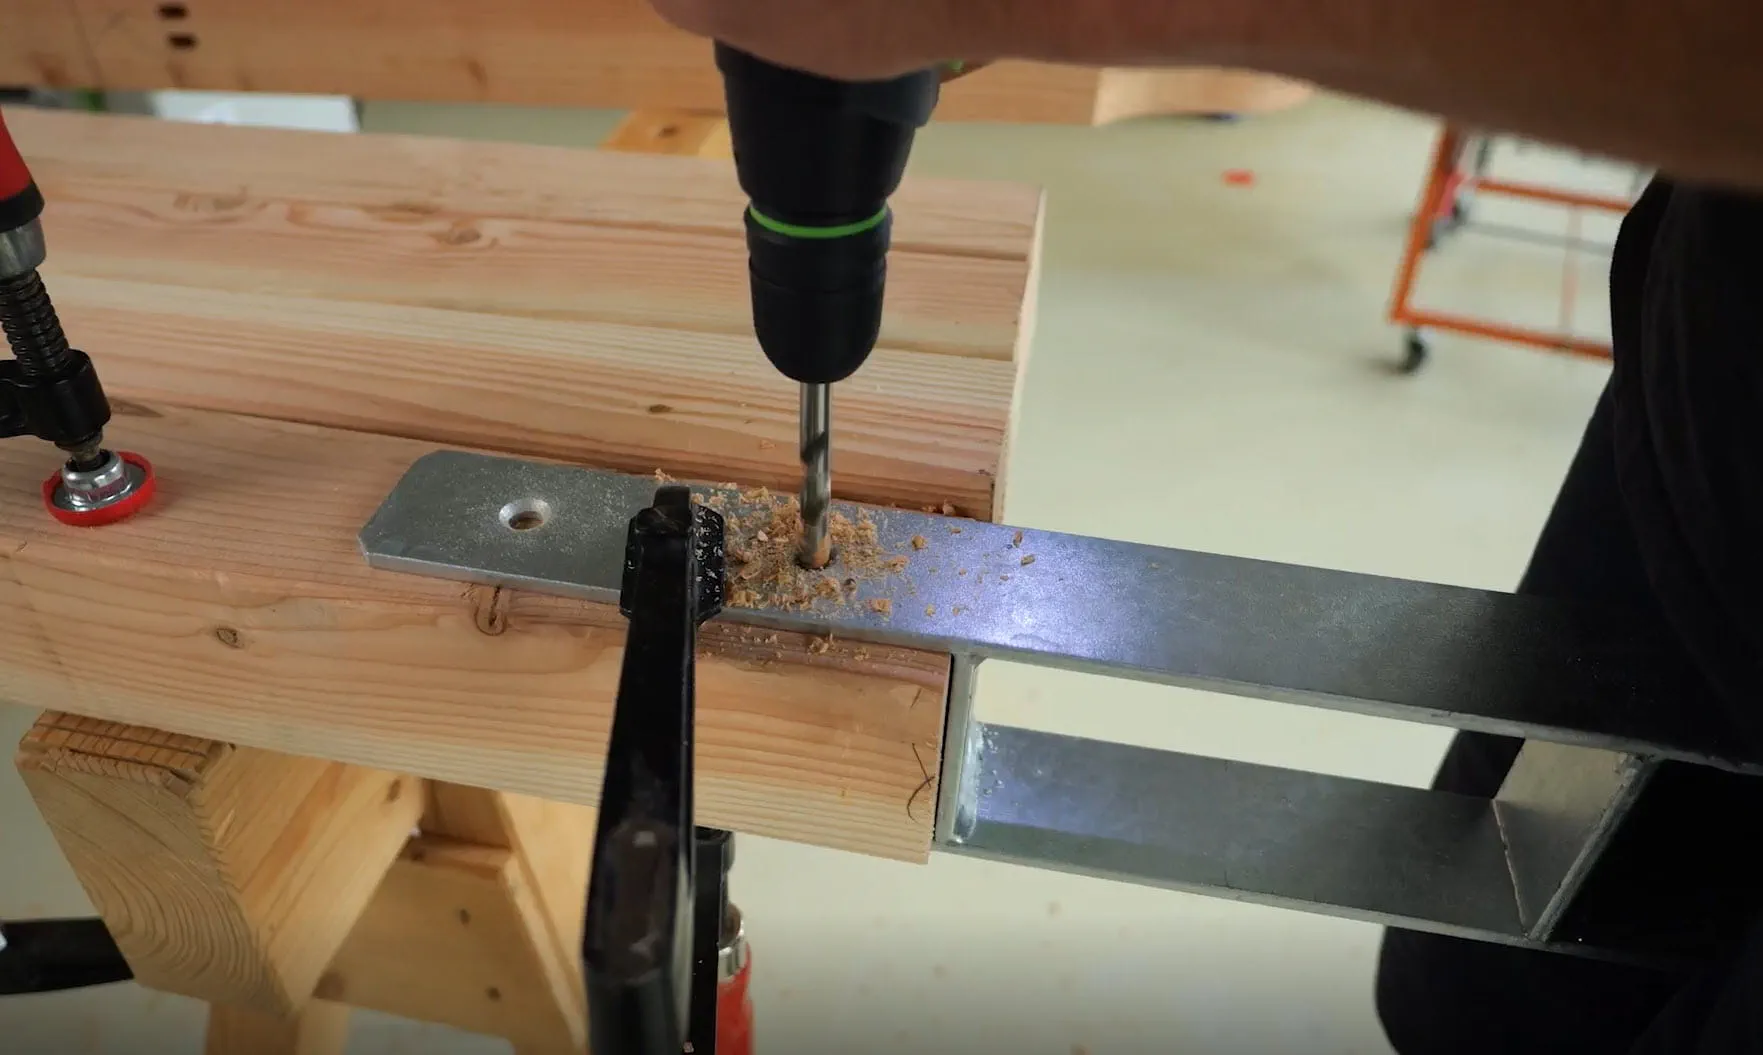
Once the joinery is complete, the three H-shaped post supports are fitted to the ends of the posts. To do this, holes (10 mm in this example) are drilled from both sides. The first hole is drilled to a maximum depth of two-thirds of the required drilling depth. This ensures that the bolt fits precisely and that the hole is drilled cleanly. Alternatively, a drill stand can also be used for the drilling.
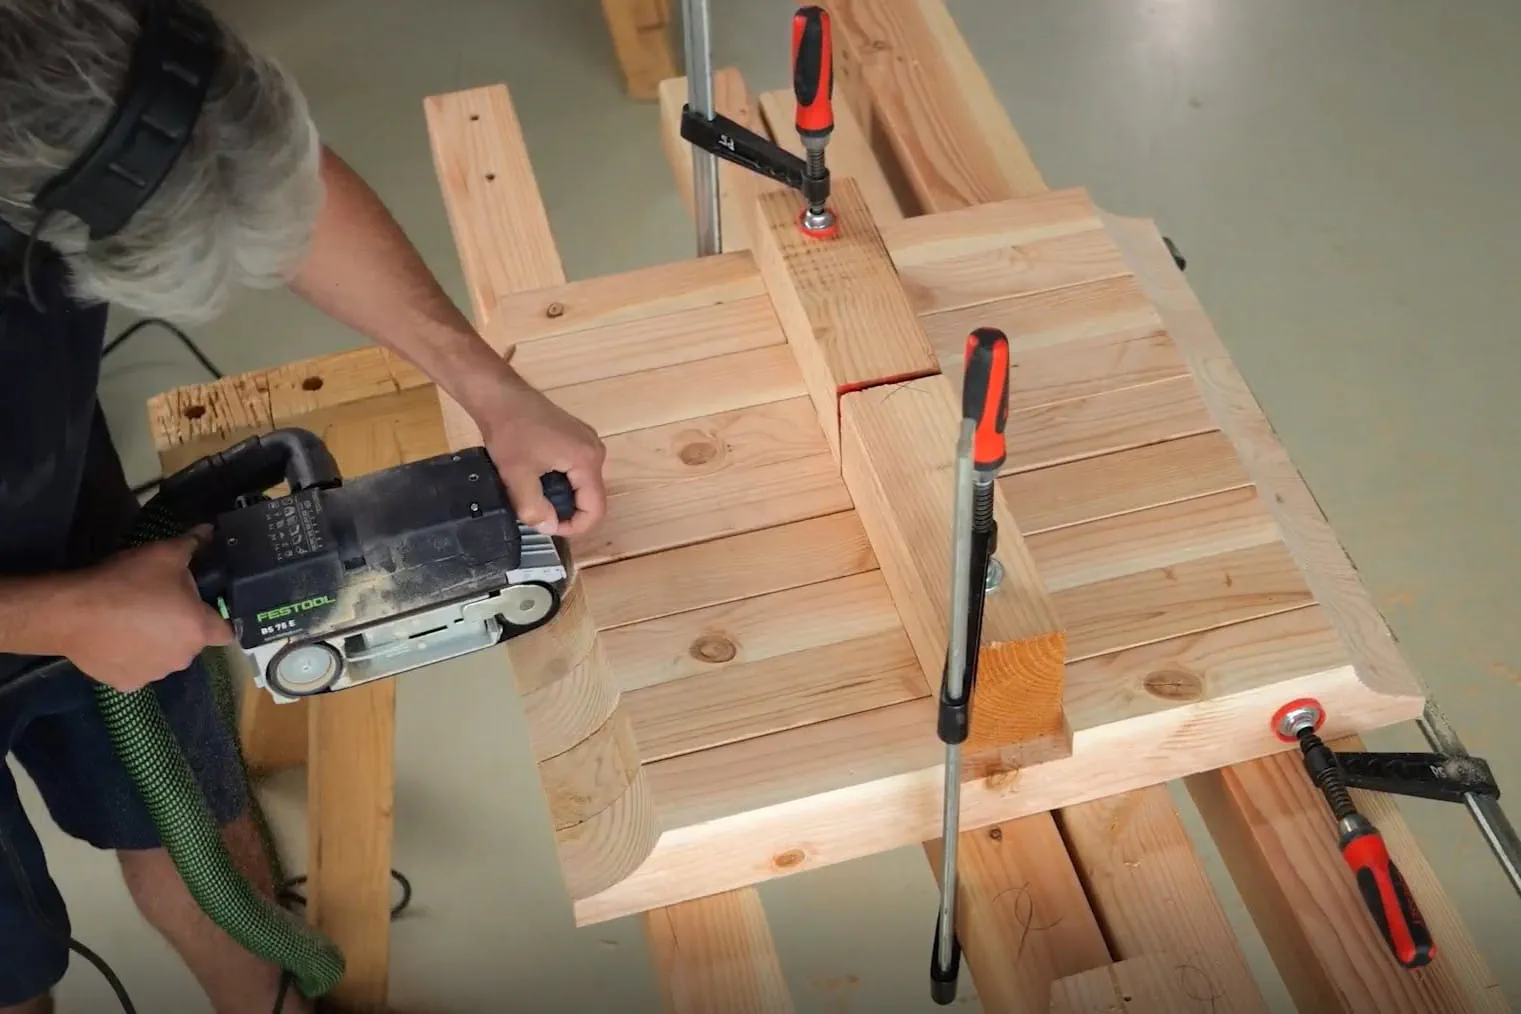
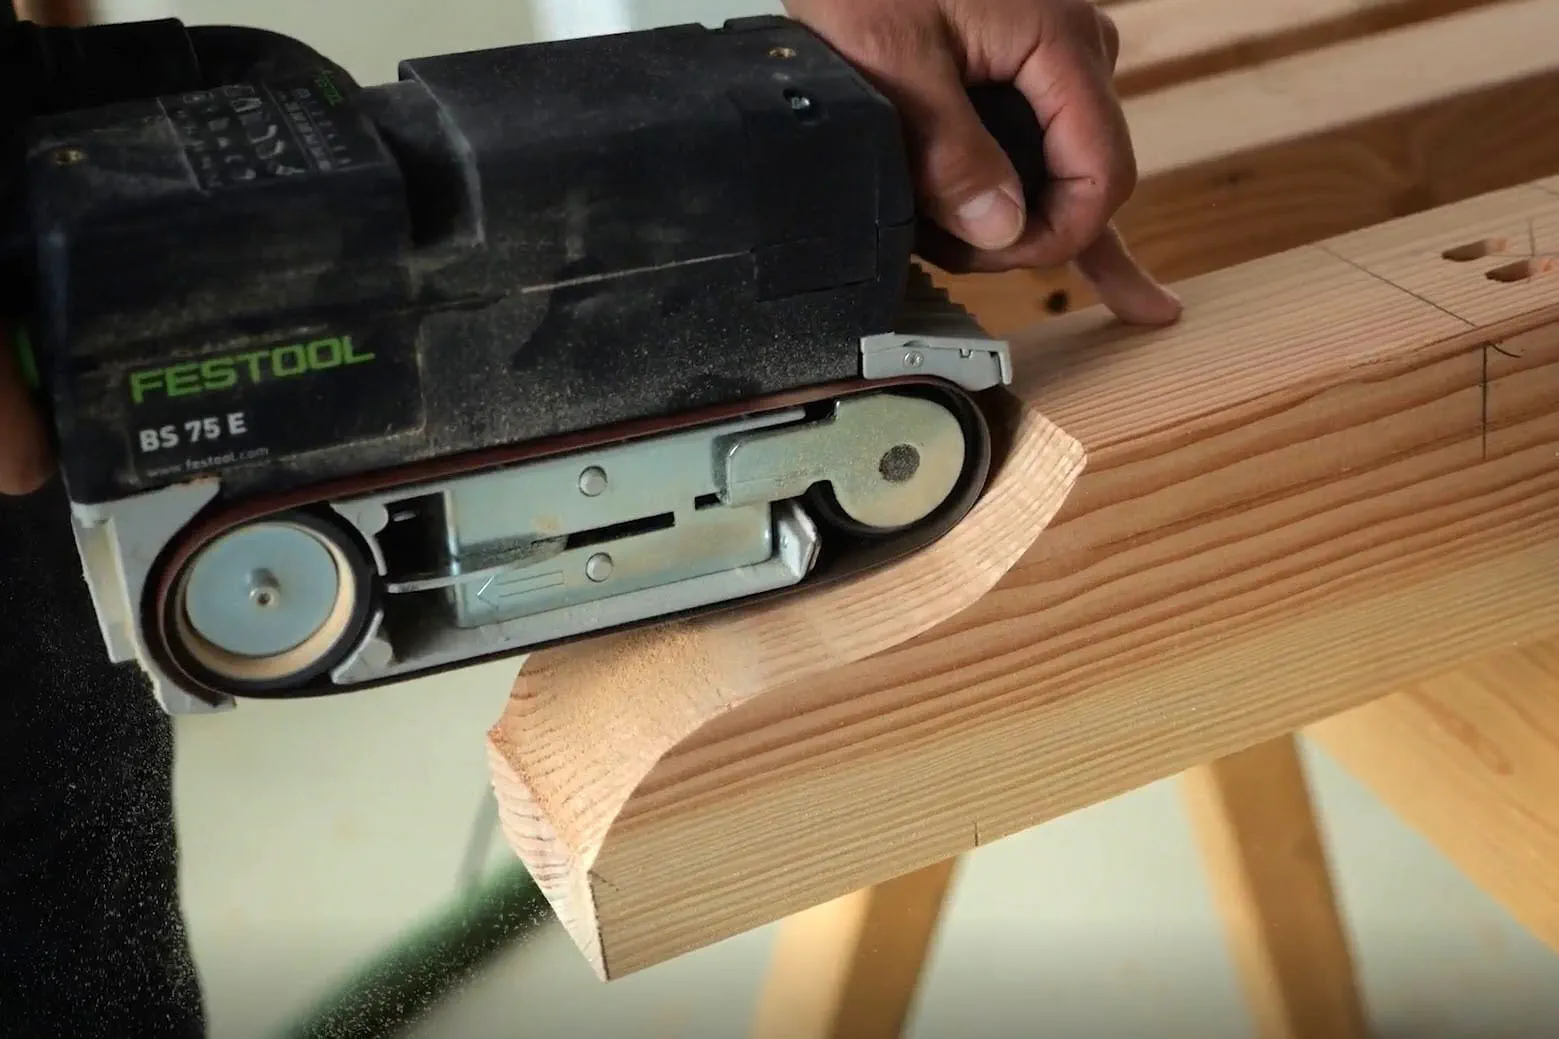
Use the belt sander to sand the rafter ends. It is advisable to start with a coarser grade of sandpaper (e.g. 80-grit) to level the surface. The final sanding is then carried out using 120-grit sandpaper.
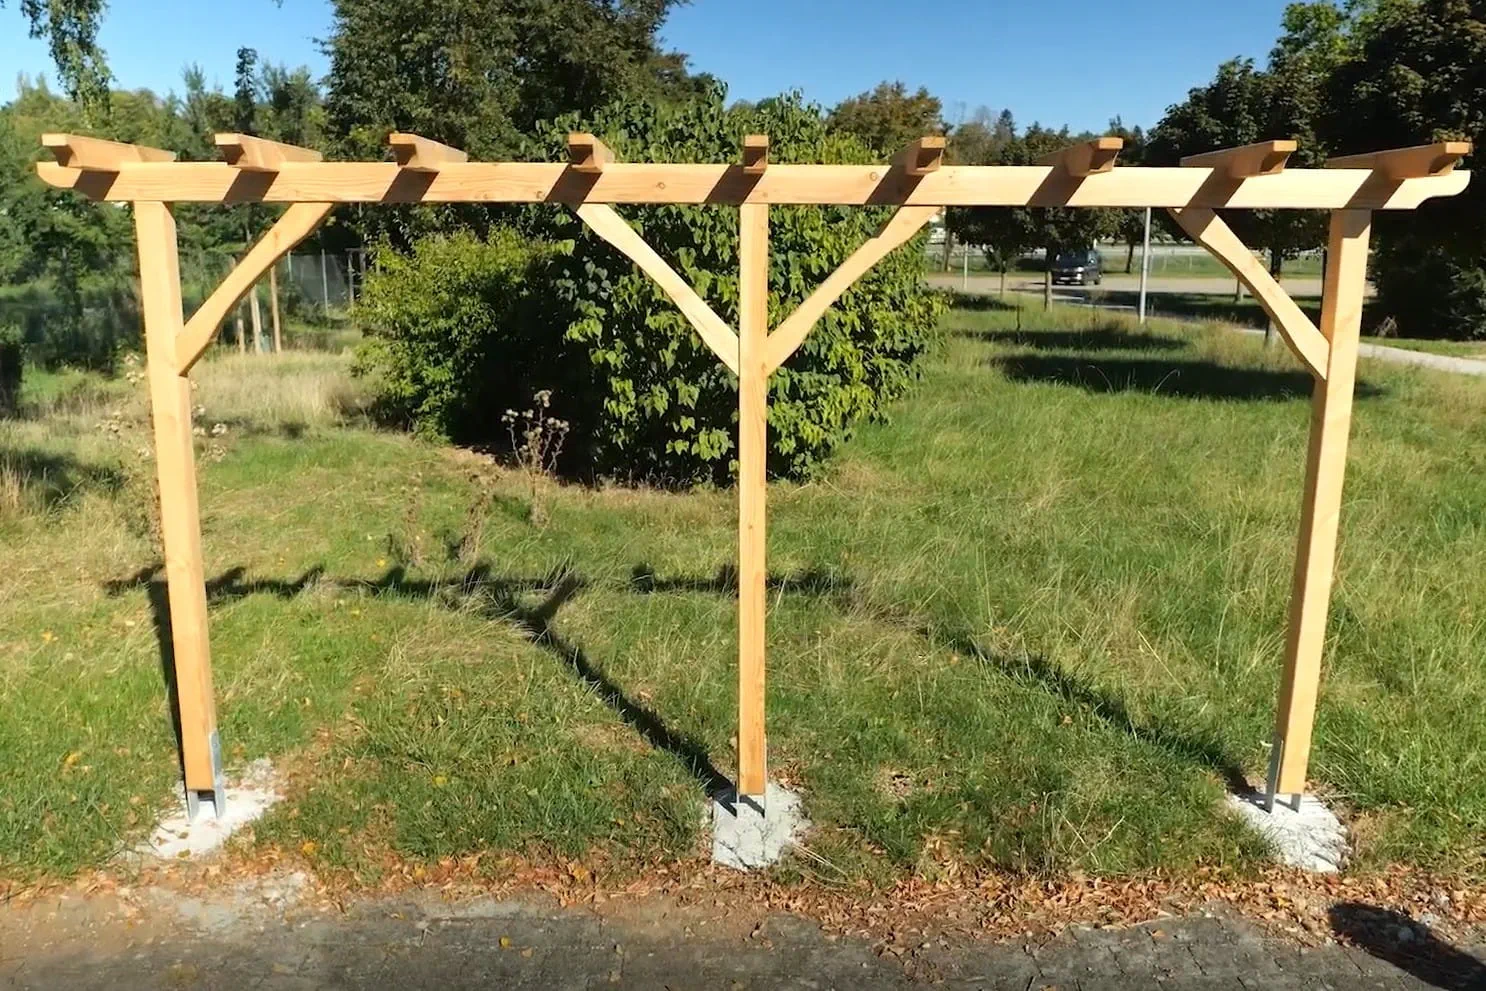
Final result.
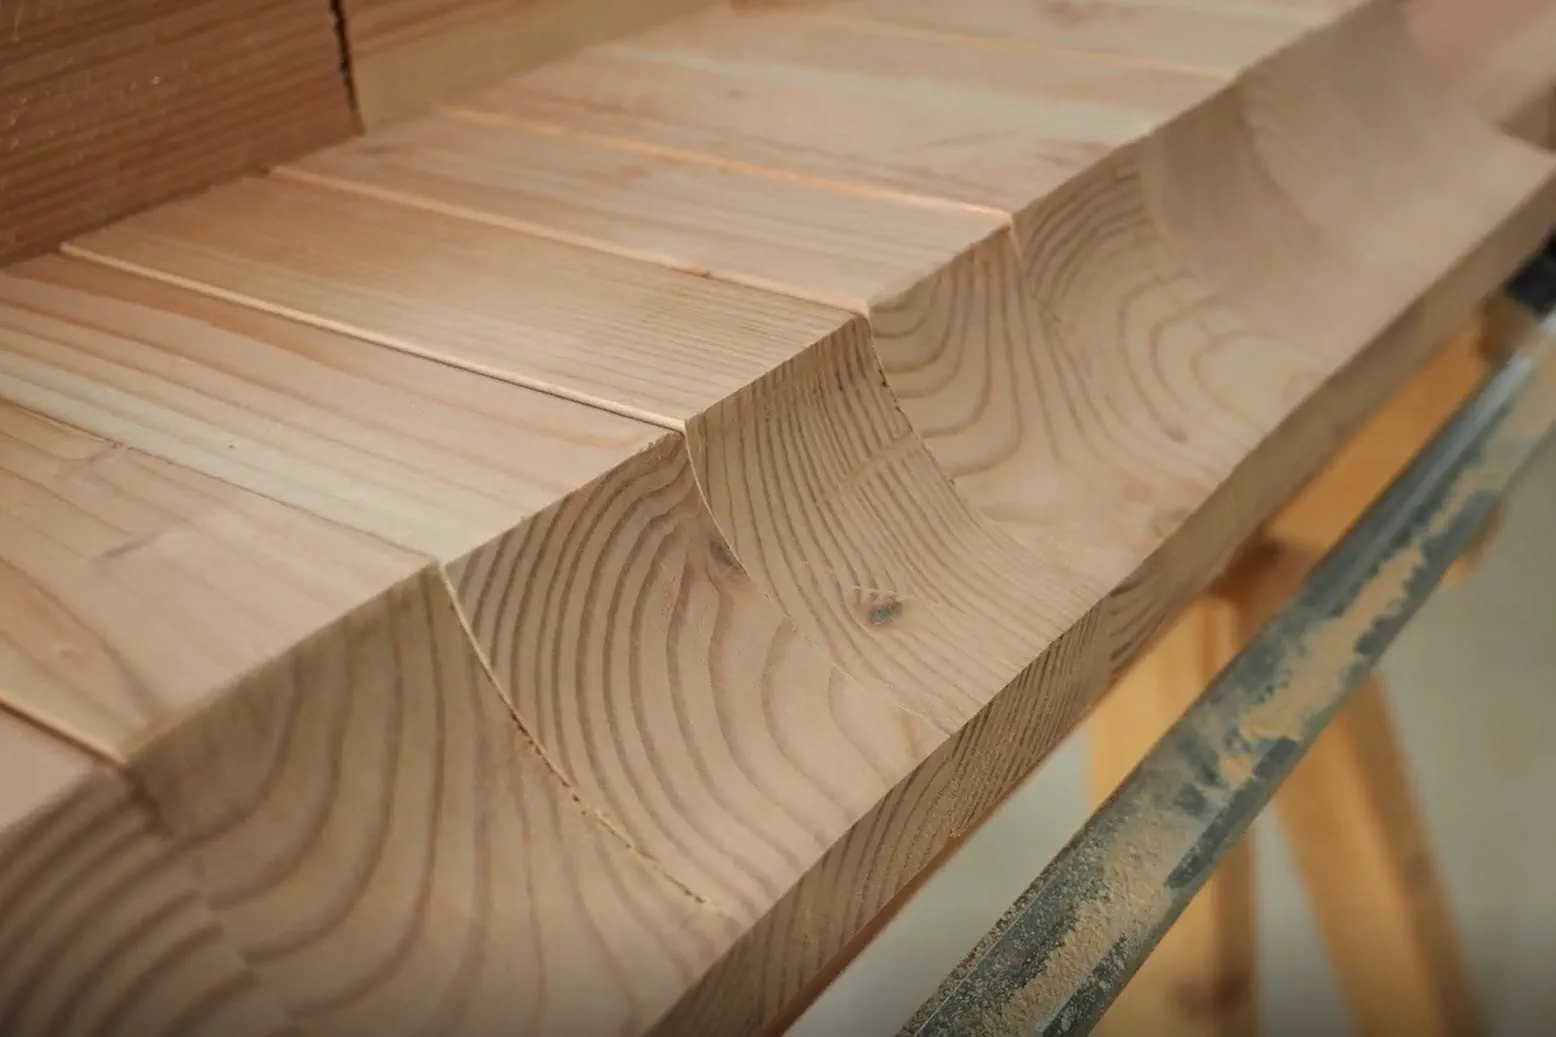
Now all the remaining surfaces of the rafters and braces are sanded down using the belt sander.
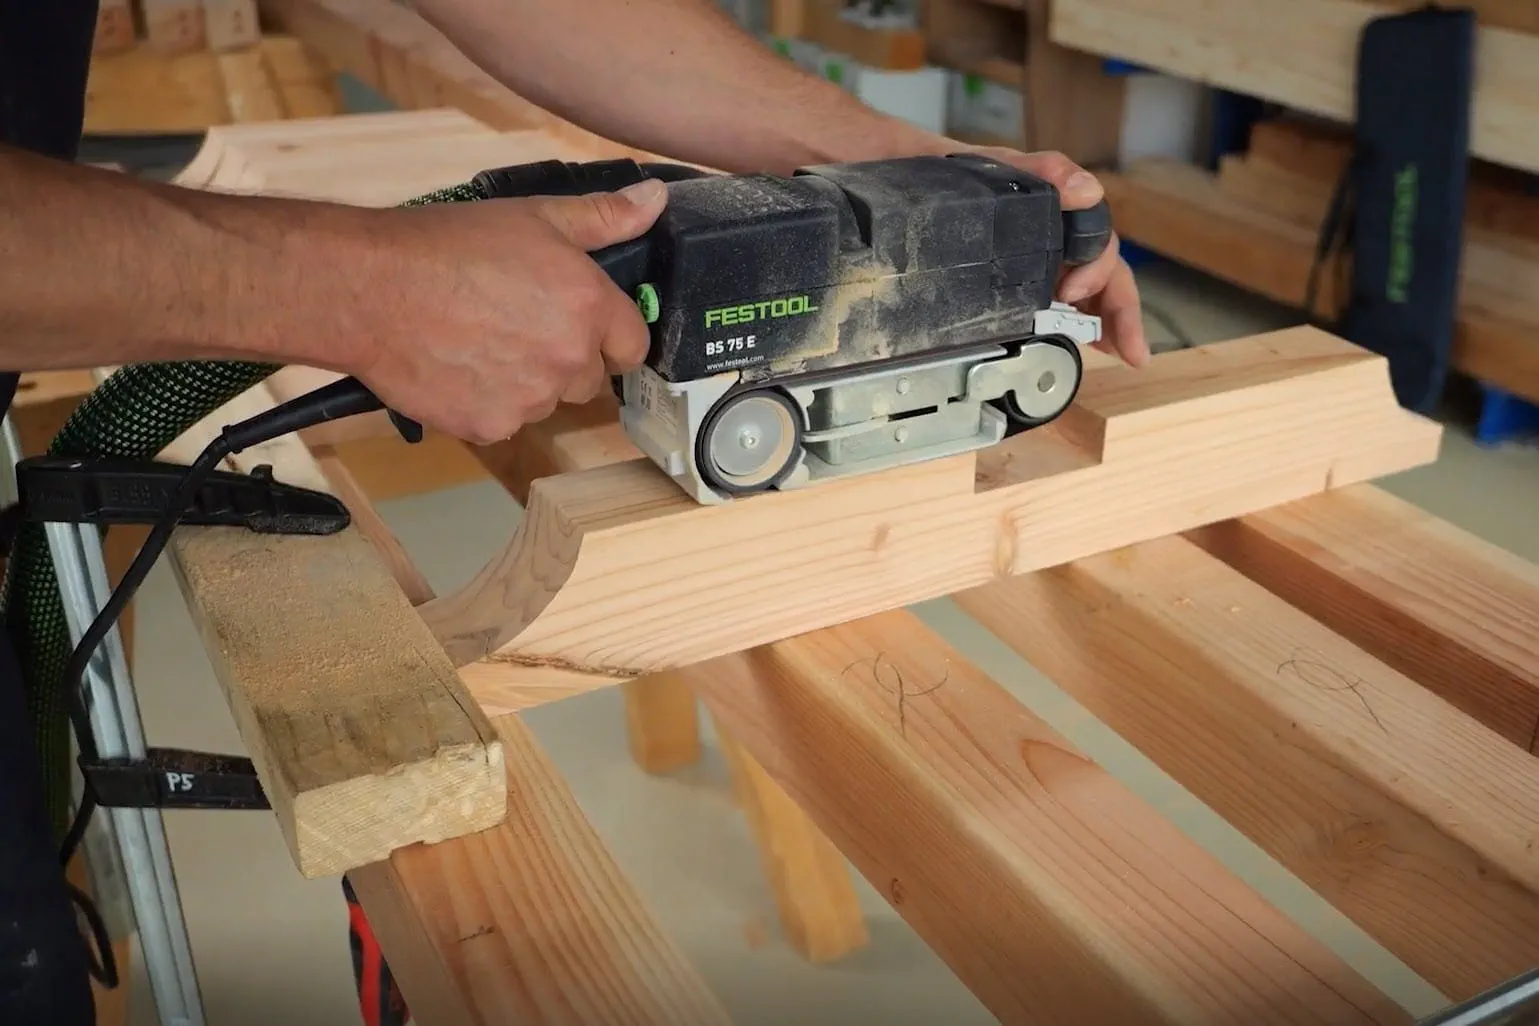
In the same way as the rafter ends are sanded, the purlin ends are also sanded using a belt sander until the desired surface finish is achieved.
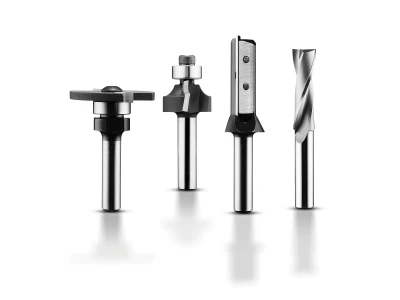
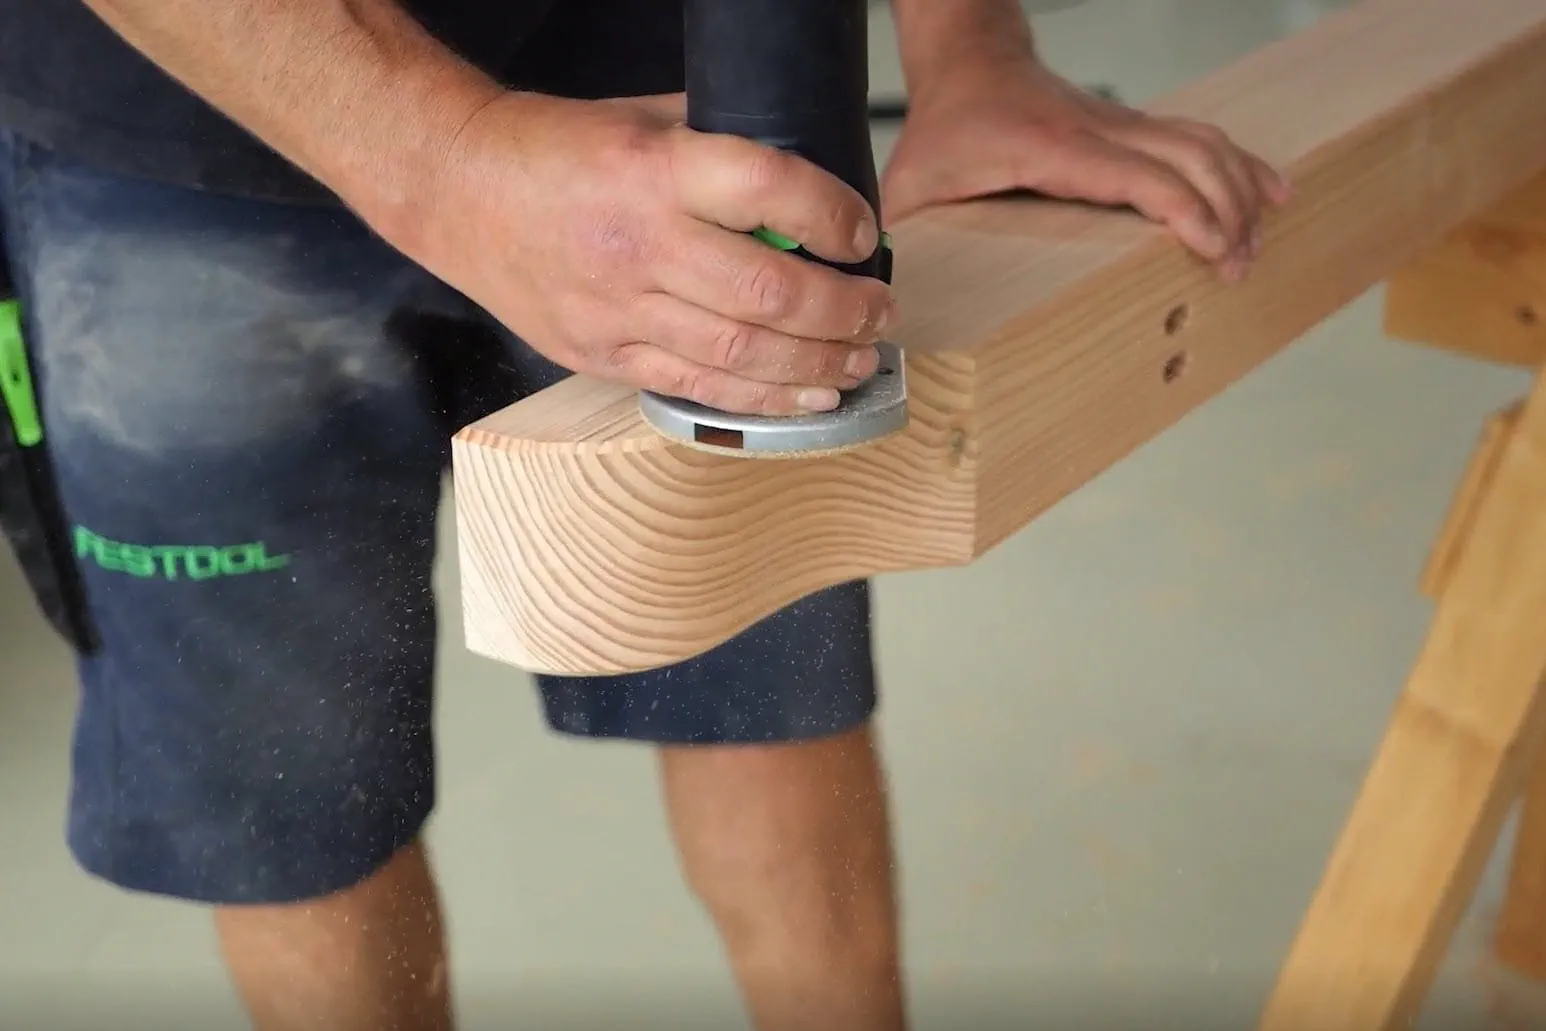
The cordless edge router is used to finish the cut edges of all components. In this example, the router is fitted with a 45° chamfer cutter.
At the installation site, the structure is first assembled whilst lying flat. The components are simply slotted together. The DOMINO dowels are inserted without glue. Of course, the joints can also be glued if required. In this case, the dowels serve solely to position the structure and, to a lesser extent, to stabilise it.
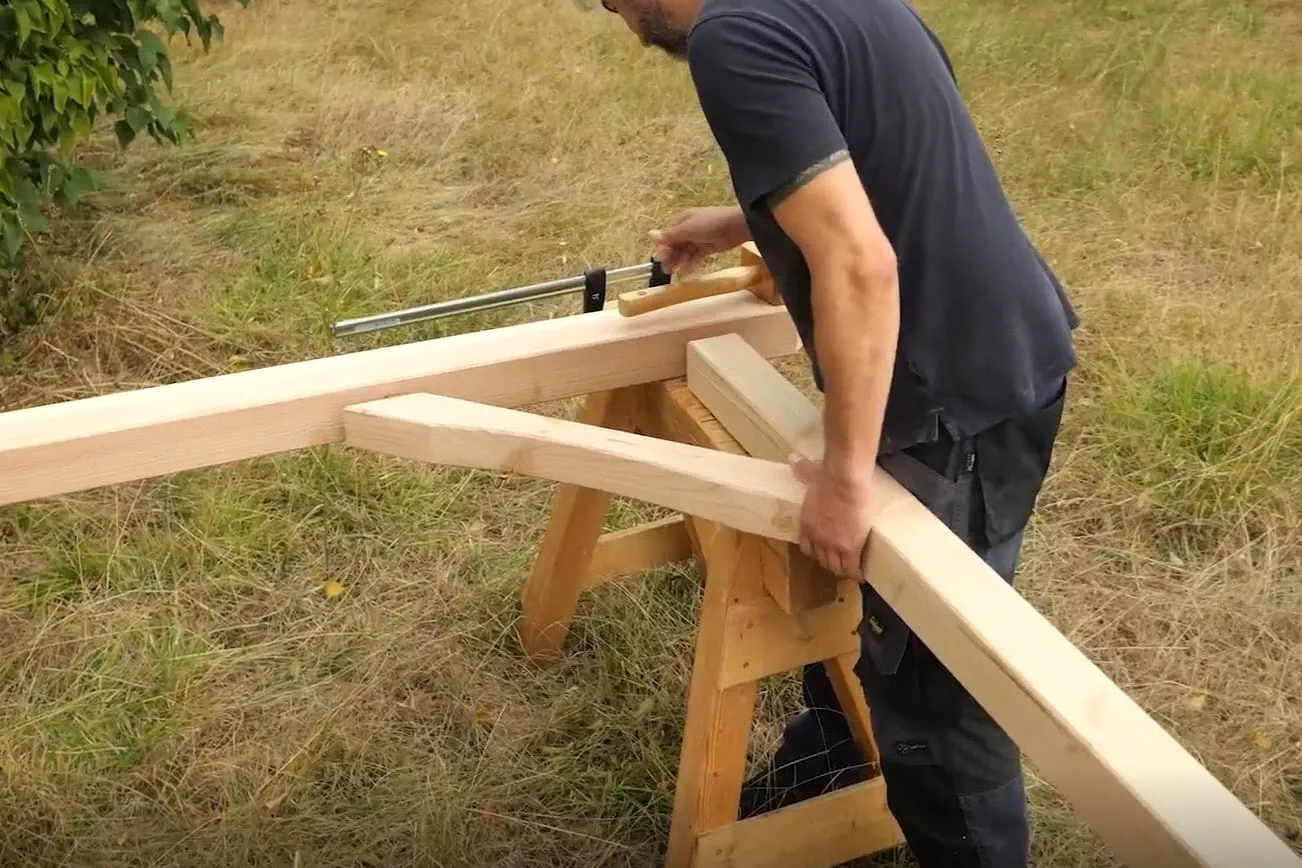
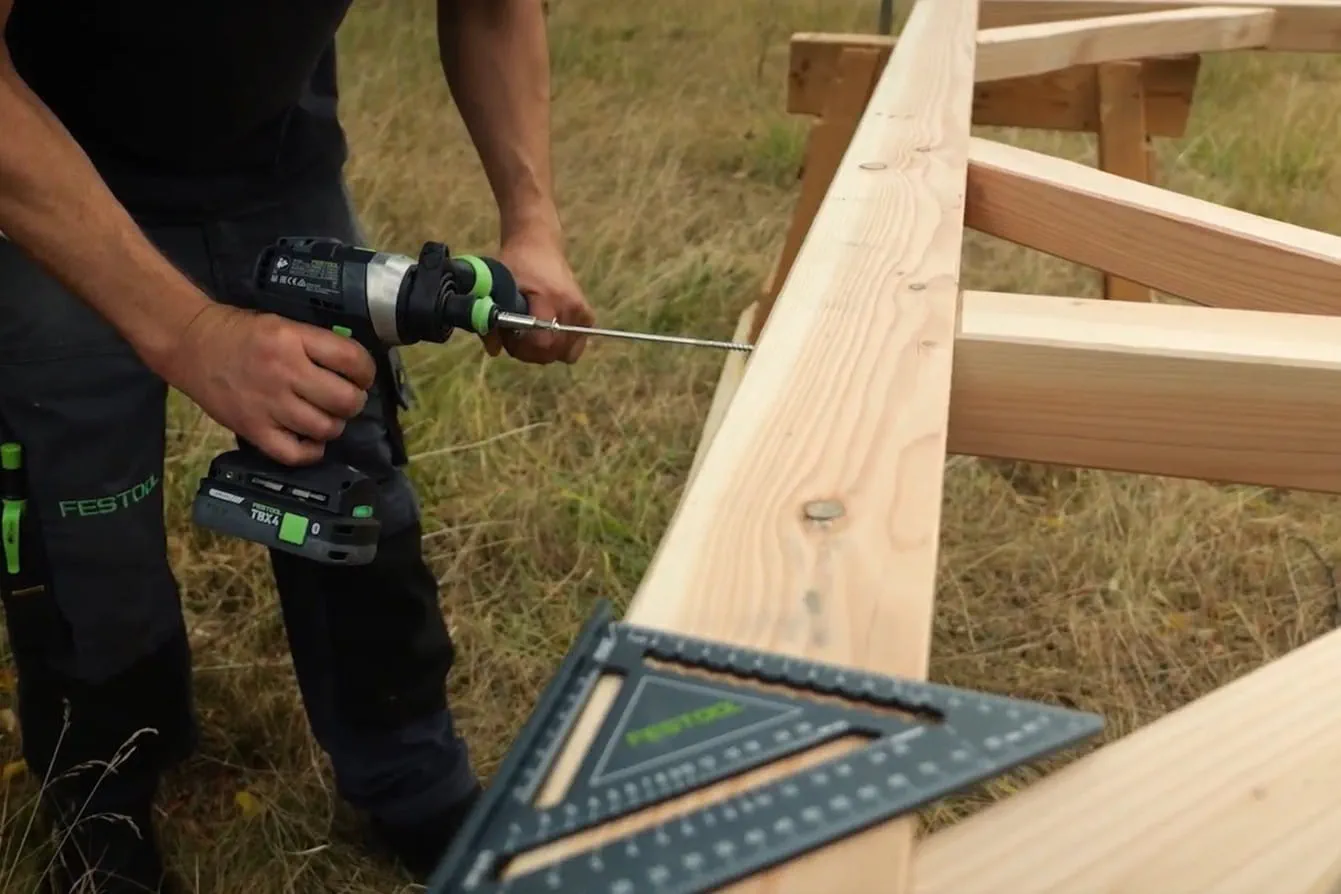
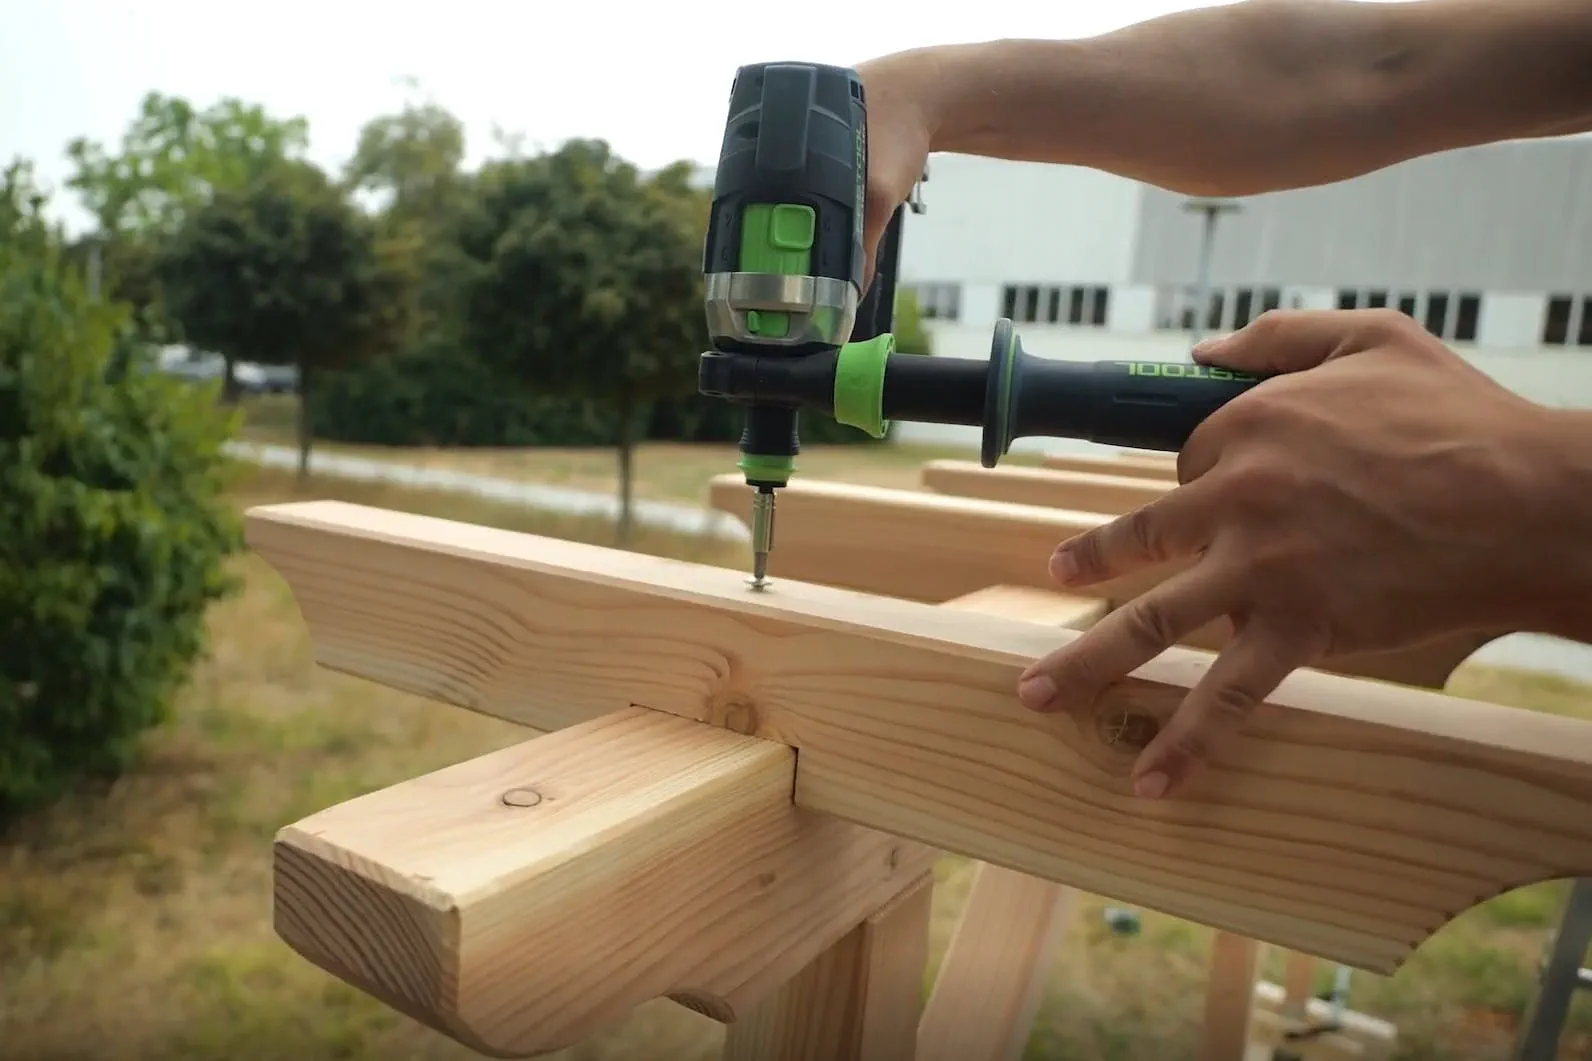
The individual components are screwed together using suitable screws and a cordless drill.
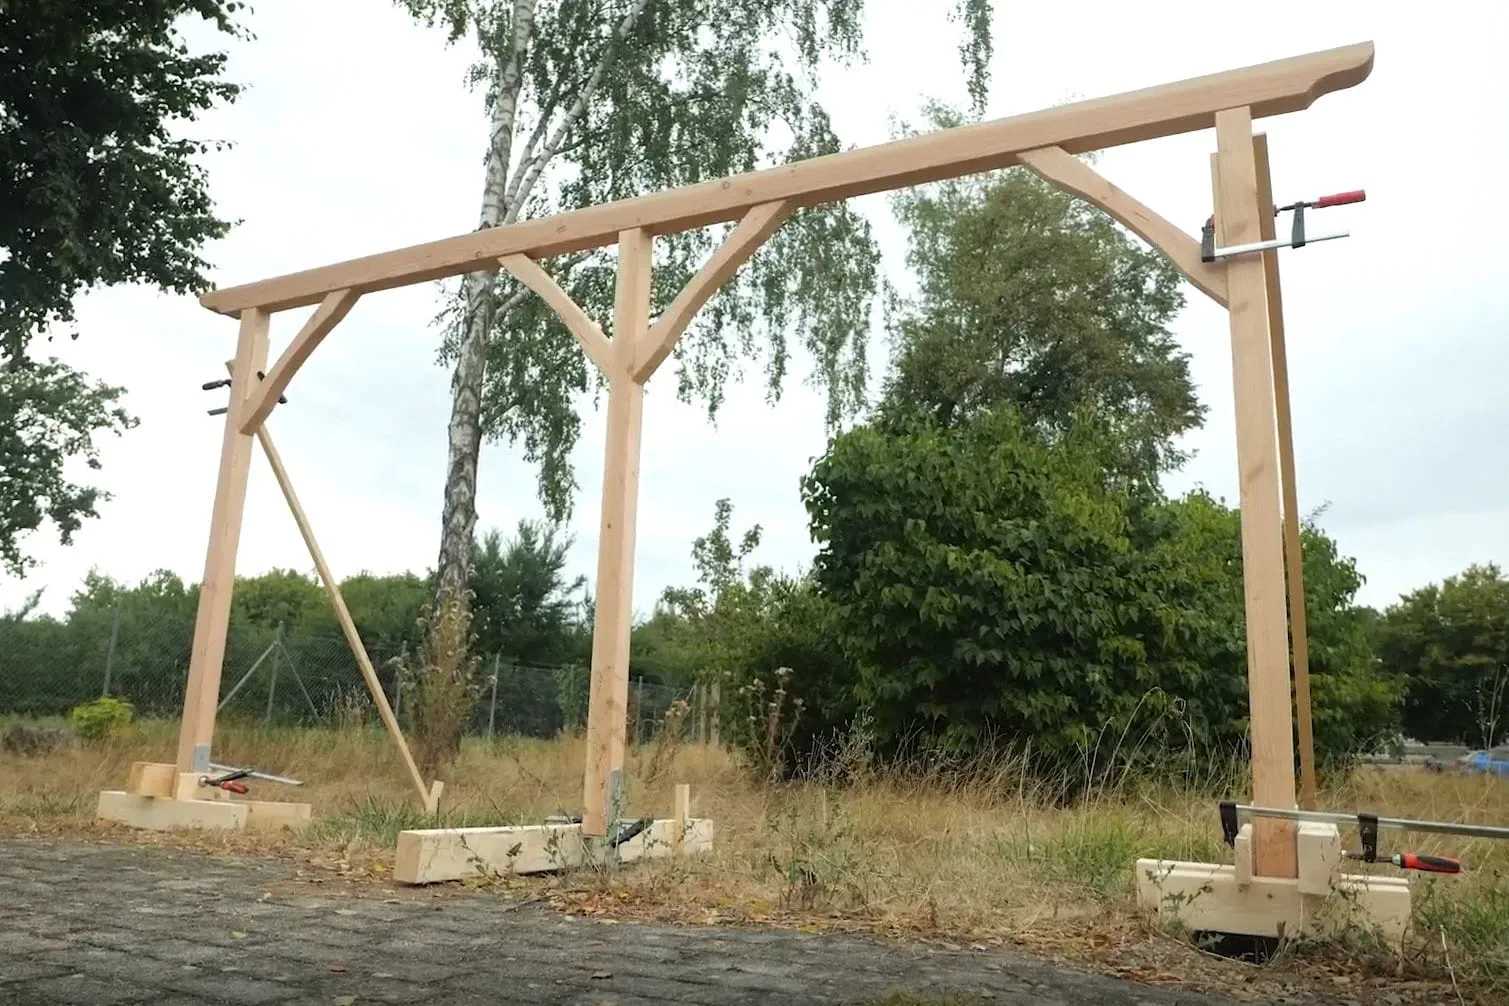
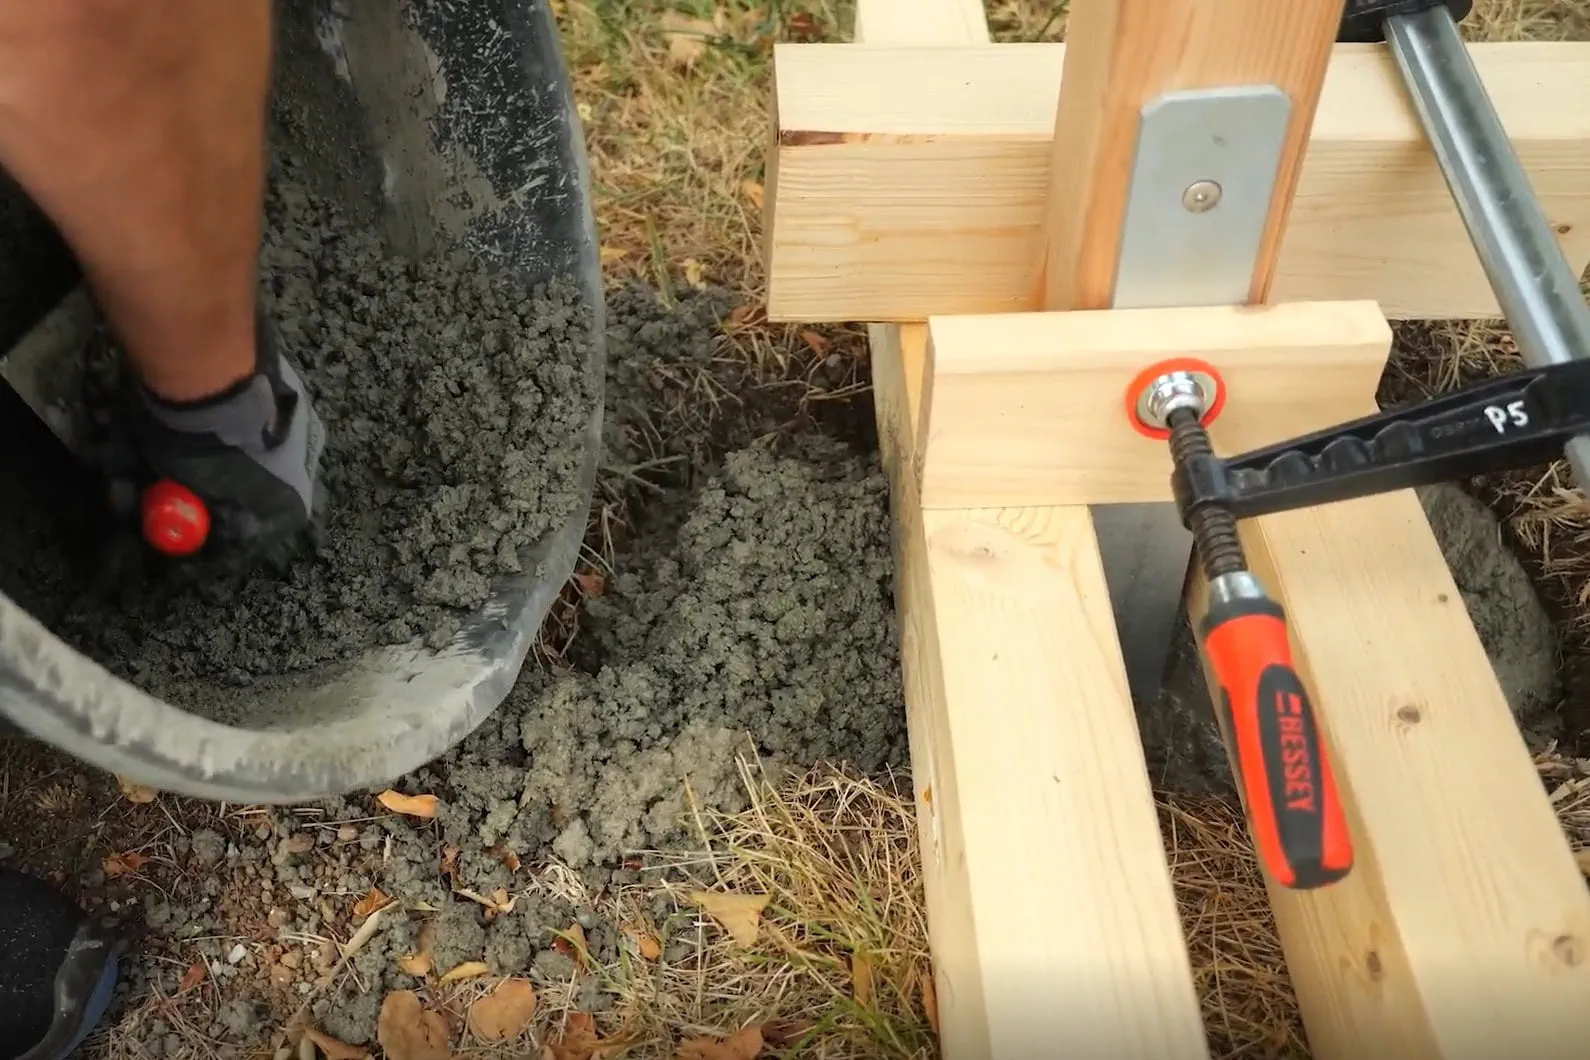
The structure is erected and secured in its intended position using timber and supports. This allows the structure to be aligned correctly before the foundations are subsequently filled with concrete.
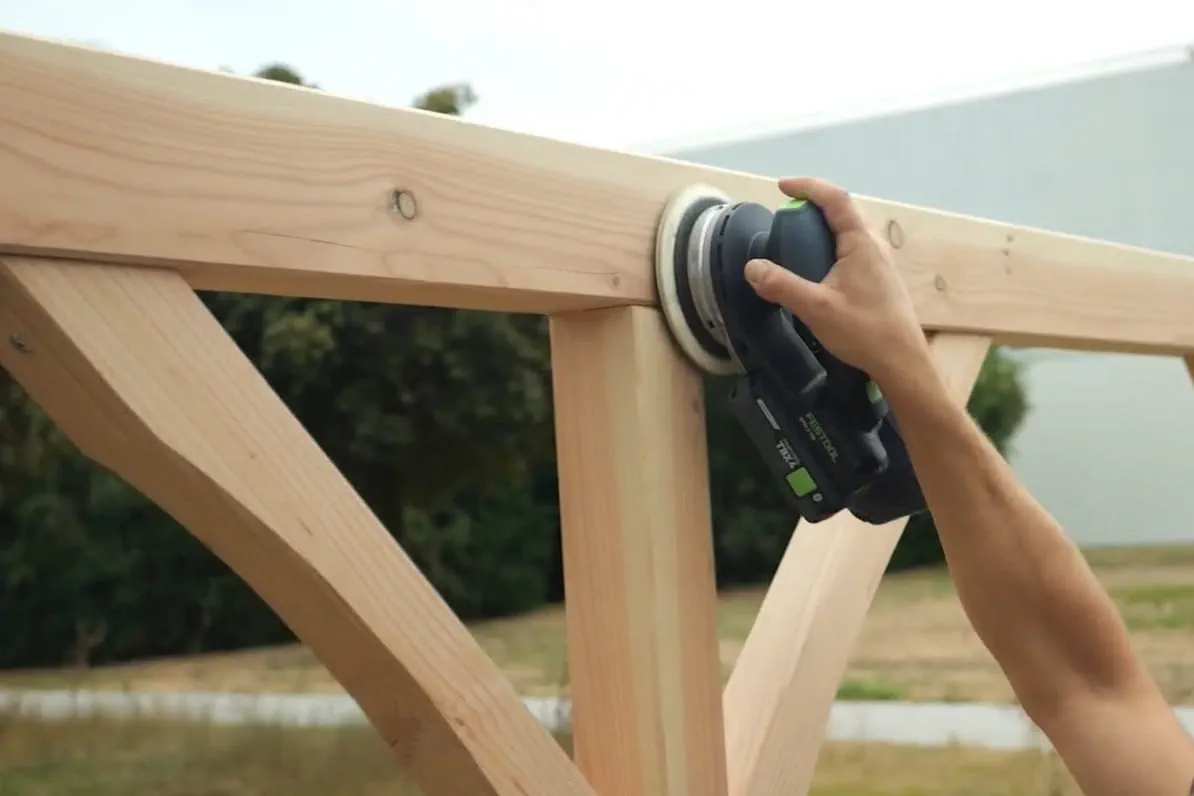
Any dirt caused during transport and assembly can be removed using the cordless sander.
The rafters are spaced evenly and secured with suitable screws.
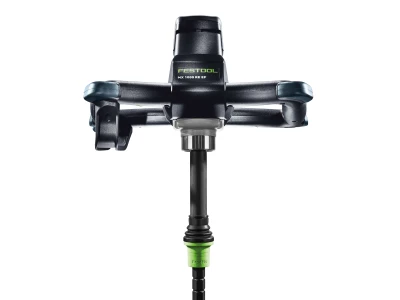
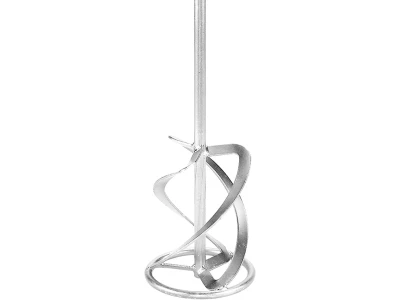
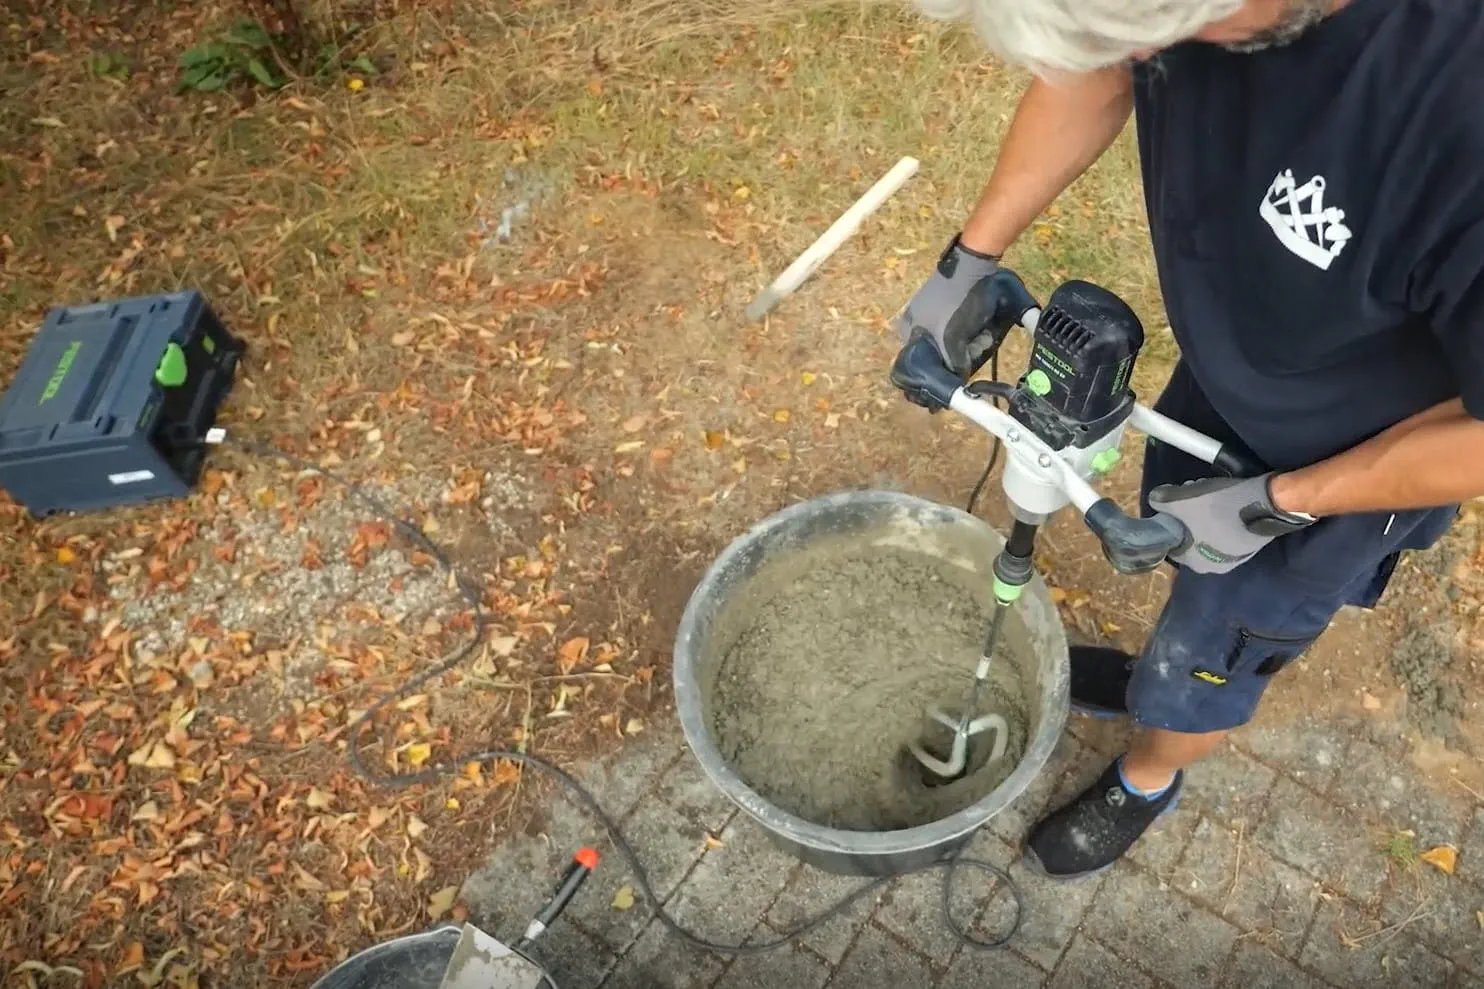
The concrete is mixed using the mixer. For remote sites far from any power supply, the Powerstation is a safe and practical alternative.
The foundations are filled with the concrete that has been mixed beforehand. Care must be taken to ensure that the concrete is sufficiently compacted to guarantee a stable and durable foundation.
Once the concrete has set, the supports and bracing can be removed. The structure is now complete.