Fitting the infill panel perfectly with the jigsaw
Description
Tools/accessories
Alternative tools
Preparation/set-up
-
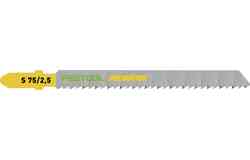
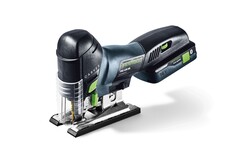
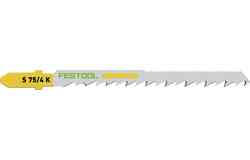
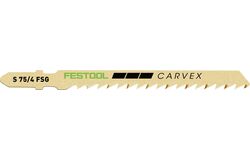
First, the jigsaw blade is inserted. In this application example, we are working with the WOOD FINE CUT since it creates a clean, splinter-free saw cut on chipboards that are coated in melamine resin. With the splinter guard, the saw cut can be improved even further. For this, once the saw blade has been inserted, cuts are made with the splinter guard in place.
Tip: If the infill panels have to be adapted to curves, the WOOD CURVES saw blade would be more suitable.
-
To be able to subsequently transcribe the wall contour directly to the plate, you first need to roughly create the required cut-outs. For this, the infill panel must be marked with an overhang of approx. one centimetre.

Procedure
-
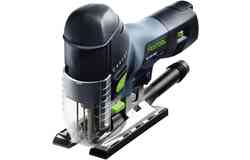
The contour that has just been marked is then cut out along the scribe mark using the jigsaw.

-
A parallel scriber that is set to the material thickness of the side of the cupboard is helpful when transcribing the wall contour. This procedure is common for infill panels that are being recessed around the front. If the infill panel is set so that it is flush with the front, only half of the material thickness is usually set. The infill panel then sits in the centre of the side of the cupboard.

-
The infill panel is now held flush with the side of the cupboard on the inside and the contour of the wall is transcribed using the parallel scriber. Since the thickness of the side of the cupboard is set on the parallel scriber, the panel then fits precisely into the gap that is to be closed.

-
In the next step, the jigsaw is used to cut along the scribe mark. Thanks to the light on the saw, the scribe mark is always clearly visible. Ensure that the workpiece is always securely fastened.

-
If an infill panel is recessed, this can then be easily screwed through the side of the cupboard from the inside. Alternatively, special clips or mounting rails can be used.

-
The result is a perfectly fitted infill panel. With the right technology, fitting an infill panel is therefore not so complicated and the built-in cupboard has a clean wall ending.

-
Our illustrated guides and work results are documented working steps that we have performed in practice. They are individual examples and do not guarantee or promise that users will obtain the same results. The results will depend on the user's experience and skill, as well as the material being used. Illustrated guides do not replace any Festool operating manuals and/or safety instructions. Liability for ensuring that the information, instructions and applications are free from content defects and defects of title, in particular with regard to the absence of defects, correctness, freedom from third party intellectual property rights and copyrights, completeness and fitness for purpose, is excluded. Claims for damages made by the user, regardless of their legal basis, are excluded. These liability exclusions are not applicable if the damage was intentional or caused by gross negligence, or in cases of statutory liability.
We cannot accept liability for damage resulting from defects.↑


