Repairing severely damaged floorboards
Description
The following material is required:
- Replacement floorboard
- Sharp mortise chisel
- Hammer
- Wood glue or parquet adhesive
- Bottom scraper
Tools/accessories
Alternative tools
Preparation/set-up
-
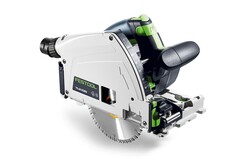
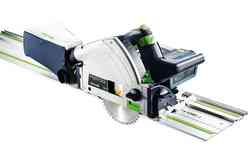
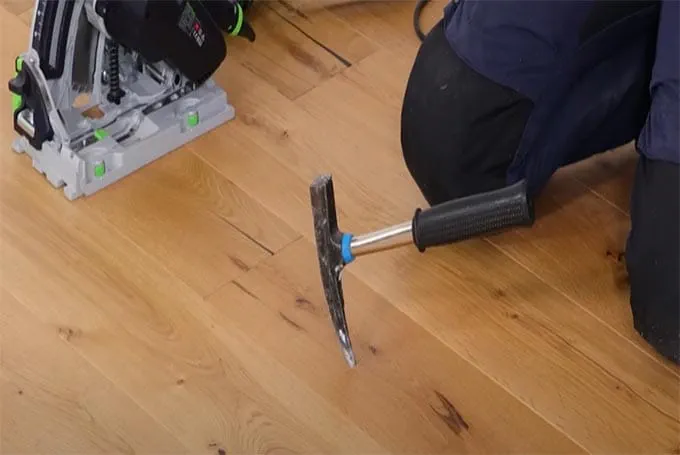
Starting with the parquet floorboard butt, to repair the wooden floorboard, make the first cut diagonally. Since the guide rails cannot be clamped to the floor, the adhesive pads on the guide rails help to position them in place so that they do not move when sawing.

-
Tip: The kickback stop function can be used as a stop on the guide rail to prevent unintentional cutting beyond the butt point. Place the tool on the guide rail. Here, pay attention to the marking on the saw showing the maximum exit point of the saw blade. Position it so that the marking does not protrude beyond the marking on the floor. Then position the kickback stop behind the tool and secure it in place.

-
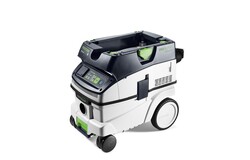
In the next step, set the circular saw to the cutting depth. To avoid scratching the screed with the saw blade teeth, adjust the height of the flooring, or floorboard in this case (this application example it's 15 mm). Perform the entire process with the setting, incl. the guide rail marking (guide rail thickness included). Don't forget to connect your dust extractor!

Procedure
-
First, we saw diagonally to make a cross in the floorboard for it to be removed.

-
Then, do the same thing again, 10 mm from the butt joints so that the tongue and groove is not damaged. On all four sides.

-
Now lever out the individual parts carefully. If the floor is fully glued, remove them carefully using a sharp mortise chisel.

-
Exercise caution with the 1 cm strips remaining. Carefully chisel and lever them out and keep them to fit at a later stage as tongue and groove.

-
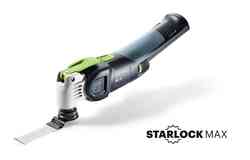
If it is a floating floor, the next step is to extract all the dust. If there's still glue on the floor, this can be easily removed using the oscillator and scraper.

-
When the wooden floorboard has been removed and the under floor is now dust free, if the tongues and grooves are left free and unscathed and can be reused to make a perfect connection.

-
Now adjust the new wooden floorboard. Check whether the floorboard fits. Here the tongue and groove need to be adjusted so that the floorboard can be inserted.

-
So that we can insert the new wooden floorboard from above, only cut away the lower overhang of the groove. In our case, to a cutting height of 6.8 mm.

-
This means that the connection with the surrounding floorboards is not interrupted and that we create an excellent support on the tongue.

-
We start with the long side and adjust the parallel side fence in such a way that the lower part of the groove is removed precisely so that the floorboard can simply be placed on the tongue. To do this, fit the guide wedge to the saw for grooving and, for safety reasons, fit a cover over the saw blade. (see image)

-
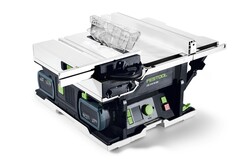
Now do the same on the short side. We now trim this groove using the trimming attachment and the sliding table on the cordless table saw.

-
Now quickly check if everything fits together. If the floorboard can be inserted entirely, with a floating floor, the grooves and tongues are glued and if the floor is fully glued, parquet adhesive is applied to the floor. Then the new floorboard can be inserted. Then place a weight on the entire area.

-
And at the end, it looks as if nothing has ever happened. Well done!

-
Our illustrated guides and work results are documented working steps that we have performed in practice. They are individual examples and do not guarantee or promise that users will obtain the same results. The results will depend on the user's experience and skill, as well as the material being used. Illustrated guides do not replace any Festool operating manuals and/or safety instructions. Liability for ensuring that the information, instructions and applications are free from content defects and defects of title, in particular with regard to the absence of defects, correctness, freedom from third party intellectual property rights and copyrights, completeness and fitness for purpose, is excluded. Claims for damages made by the user, regardless of their legal basis, are excluded. These liability exclusions are not applicable if the damage was intentional or caused by gross negligence, or in cases of statutory liability.
We cannot accept liability for damage resulting from defects.↑


