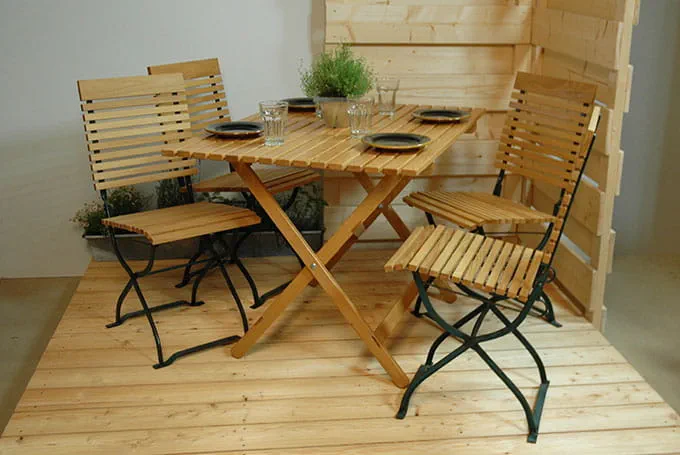
Folding garden table
Notes about materials
To help you when selecting wood, we have put a wood tip at the end of the page. We have used Robinia wood for the table shown. The glue is "X-PERT Turbokleber" super glue from Ponal. All of the SPAX screws were stainless steel. For the threaded bolts, stainless steel or brass can be used.
Required materials
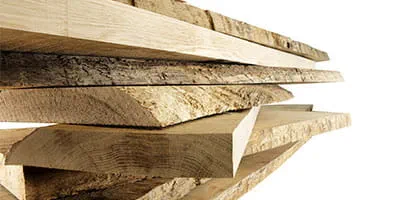
Position 1*: 15x: Tabletop slats 1100 x 45 x 20 Robinia (our Wood Tip)
Position 2: 2x: Cross slats 800 x 45 x 20 Robinia
Position 3: 2x: Leg (with diagonal brace) 930 x 45 x 20 Robinia
Position 4: 2x: Leg 930 x 45 x 20 Robinia
Position 5: 2x: Cross brace, short 742 x 45 x 20 Robinia
Position 6: 1x: Diagonal brace, short 845 x 45 x 20 Robinia
Position 7: 2x: Cross brace, long 784 x 45 x 20 Robinia
Position 8: 2x: Safety block 70 x 20 x 15 Robinia
Screws:
Position 9: 4x: Carriage bolt, 50 mm M8, stainless steel or brass
Position 10: 8x: Washer, M8, stainless steel or brass
Position 11: 4x: Spring washer, M8, stainless steel or brass
Position 12: 4x: Nut, M9, stainless steel or brass
Position 13: 30x: SPAX screws, 4 x 60 mm, stainless steel
Position 14: 2x: SPAX screws 3.5 x 30 mm, stainless steel
Other materials:
Position 14: 1x: Pipe, 764 dia. 20, aluminium pipe
All measurements in mm
* Position in drawing
Construction plan drawing
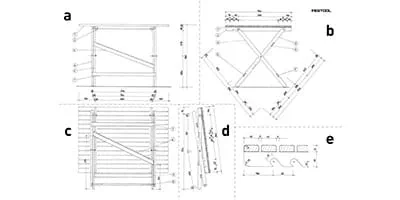
- Complete view from the front, unfolded
- Complete view from the side, unfolded
- Complete view from the front, folded
- Complete view from the side, folded
- Detail view of the tabletop
Click the button for the true-to-size construction plan
Procedure
-
Step 1
Cut the slats to the specified sizes from the material list. You should use a fine saw blade (with more teeth or a veneer saw blade) when cutting across the grain. Cut the reinforcing brace for the underframe (position 6) on a 25 degree angle on both sides.

-
Step 2
Mark the slats with their corresponding number from the material list so that you can easily keep track of them. The first step is to drill the 8 mm drill holes for the folding mechanism.

-
Step 3
Mark the exact positions of the holes. Place some waste timber underneath when drilling the holes so that you can prevent splinters around the drill holes.

-
Step 4
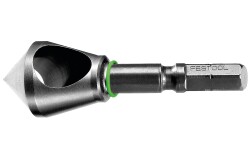
Countersink the 8 mm drill holes on both sides. Mark the centre point of the 20 mm hole. In order to avoid splinters when drilling both holes for the slot-in points for the height adjustment, either drill halfway from both sides or clamp the slat to a piece of spare timber

-
Step 5
Glue the four wall pieces to one another. Use either a watertight wood glue or a polyurethane adhesive for glueing. You can also secure the glue joints with 3.5 x 35 SPAX or nails. The walls of the tower steeple (positions 12 and 13) should be glued in the same way.

-
Step 6
The underframe is connected using what is known as halved joints. This means that half of the depth is removed from each plank and at the end both parts interlock together. Mark the exact positions of these joints on the legs (positions 3 and 4) and onto the braces (positions 5, 6 and 7).

-
Step 7
Different variations of these connections are possible. In the following photos, we will show you three types. Depending on which machine you have and which working method suits you best, you can either: use a hand saw and a chisel; a plunge-cut saw

-
Step 8
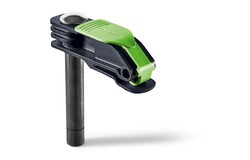
and a stop; or a table saw. If you are working with hand tools, the first step is to saw into the wood along the line and use a chisel to remove the excess wood. If you are working with a plunge-cut saw and stop, clamp the slats together

-
Step 9
and use the plunge-cut saw to make multiple cuts and remove wood from the connection area. You can also use these two working methods when cutting out the slats or you could use a table saw as shown here.

-
Step 10
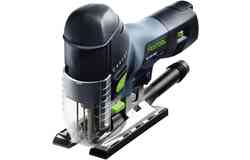
The cross braces under the tabletop (position 2) and the legs (positions 3 and 4) all need to have rounded ends. Use a rounded object or a compass to draw a circle on the slats. Cut out the curves using a jigsaw and a fine curved saw blade.

-
Step 11
Use a sanding block or a router to round the longitudinal edges of the underframe. Do not round the sections that will later form part of the connections. Use a quick-drying polyurethane adhesive on the underframe. It is water resistant and has a hardening time of approx. five minutes.

-
Step 12
First glue the aluminium tube into both legs and then glue the lower braces. Secure everything with clamps. Glue the second part of the frame in the same way.

-
Step 13
Cut out the notches for the height adjustment on the cross braces (position 2) using a hand saw or a jigsaw. Round off all slats on the tabletop (position 1). Place the slats onto a square base with the upper sides facing downwards and push them together. Place a cross brace (position 2) squarely across the slats and use a measuring stick to

-
Step 14
measure the overhang. Divide this measurement by the number of gaps between the slats. The result is the exact distance for the gaps to be left between the slats on the tabletop. Cut a spacer block to this length so that you can use it when screwing the tabletop together. Clamp the first slat with one longitudinal edge and one transverse edge square with the outer edge of the base.

-
Step 15
Lay all the slats next to one another and mark on them the distance between the cross brace and the outer edge. Screw down the first and last slat. Place the other slats down one by one using the spacer block in between. Pre-drill 4.5 mm holes in the cross braces and use 4 x 60 mm SPAX screws to fasten the slats.

-
Step 16
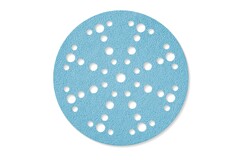
Use a sharp chisel to remove any glue residue and sand any rough areas with an eccentric sander and a hand-sanding block. The last polishing step in treating the surfaces is to sand with a P180 grit sandpaper. First, treat the entire table with a weather-resistant oil. When the first coat is dry,

-
Step 17
sand it with P240 grit sandpaper. After this, use a cloth to apply one or two further coats of oil. Use stainless steel or brass screws (machine screws) when screwing the frame parts together. Use a washer where the nut touches the wood and between the two moving parts of the underframe. Use locking nuts or

-
Step 18
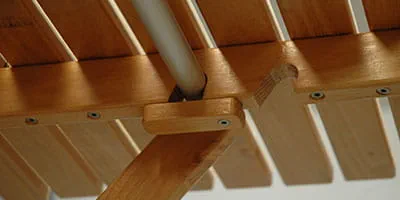
place a spring washer under the nuts to prevent the nuts from loosening on their own. So that you can carry the table, screw on two wooden blocks (position 9) under both notches. Each block can be turned forwards or backwards and prevent the aluminium tube from coming out of the notch.


